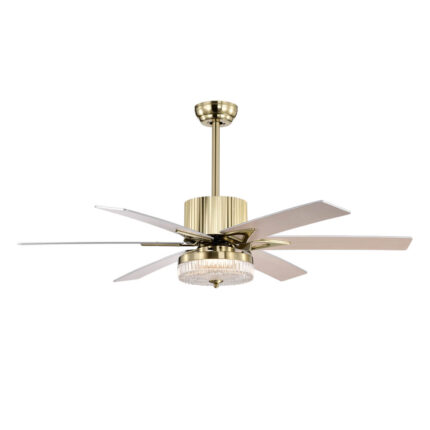
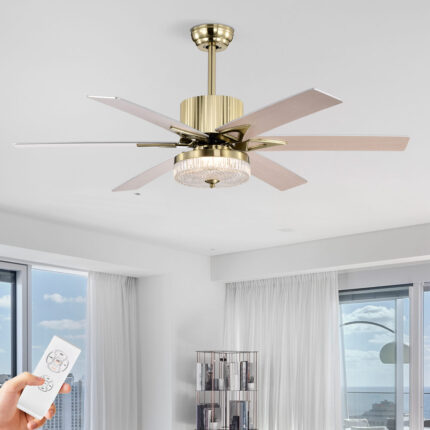
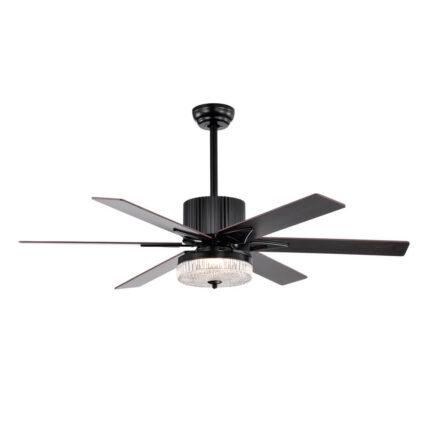
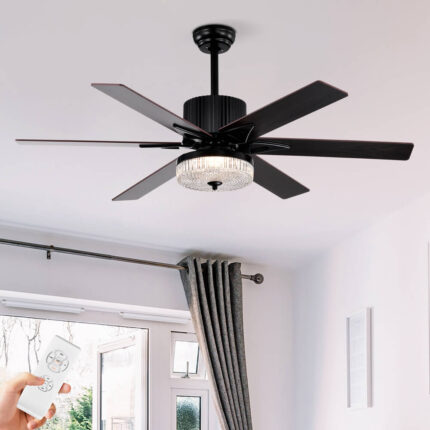
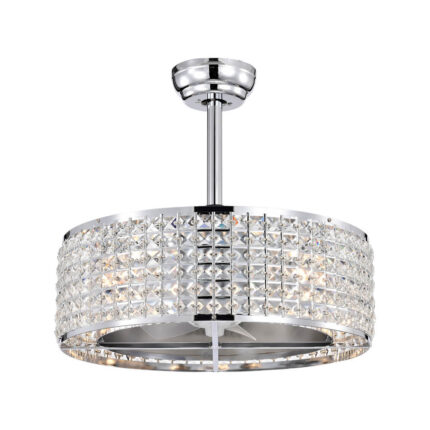
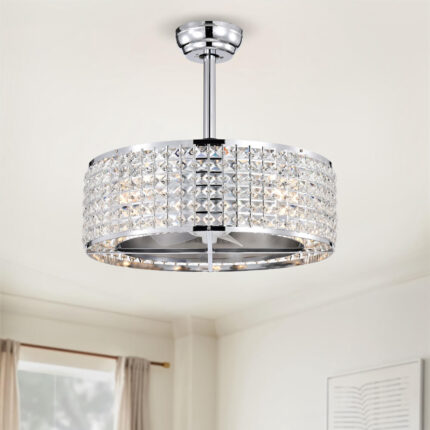
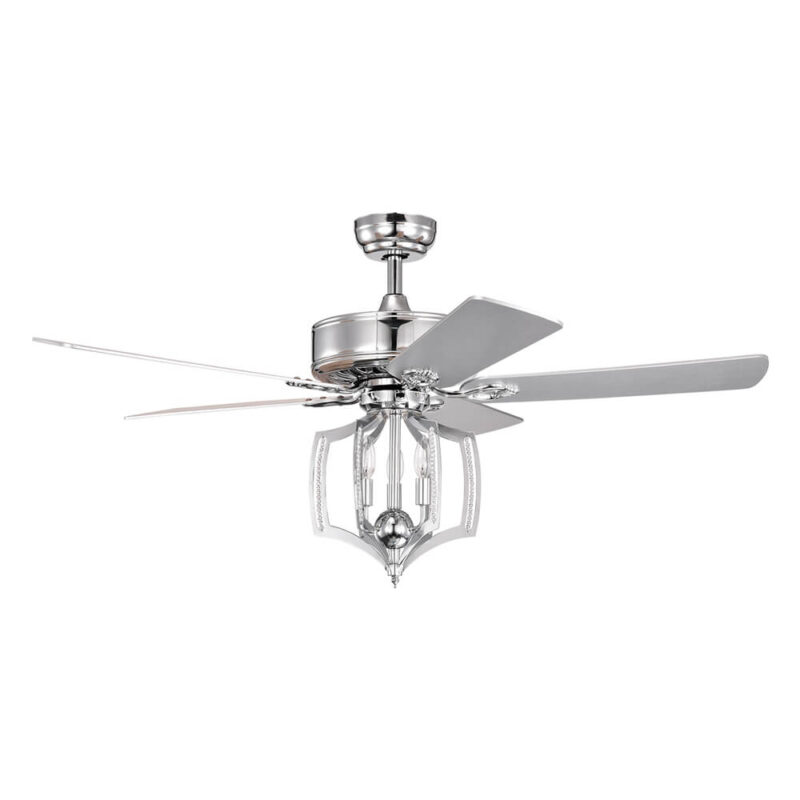
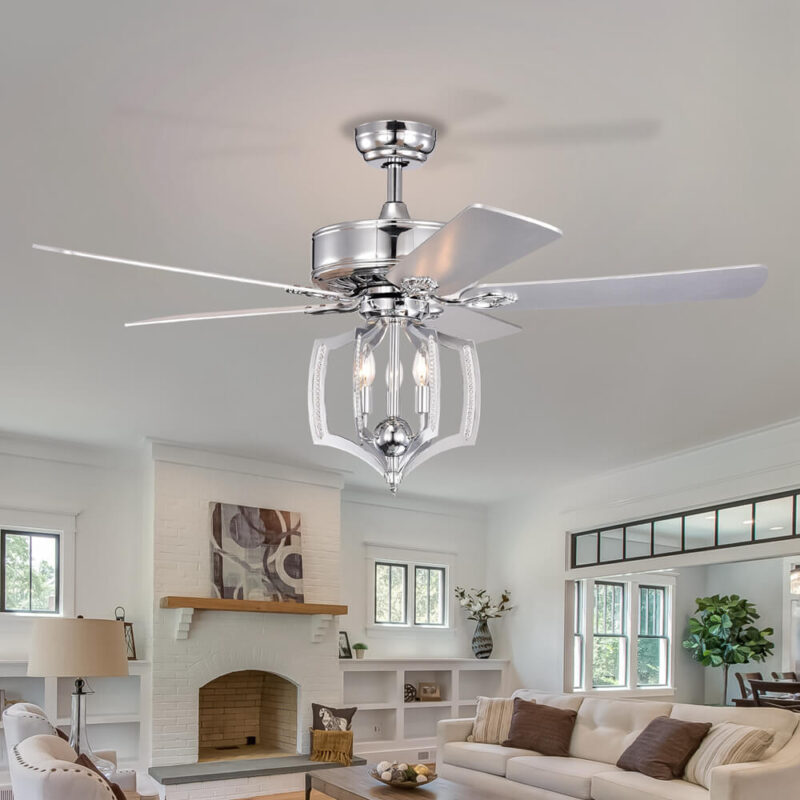
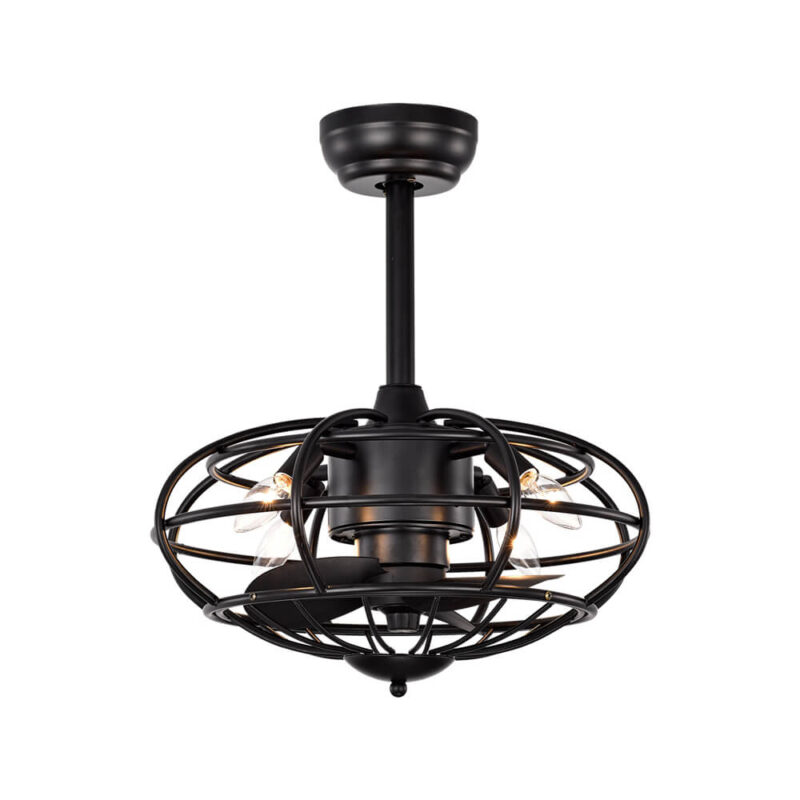
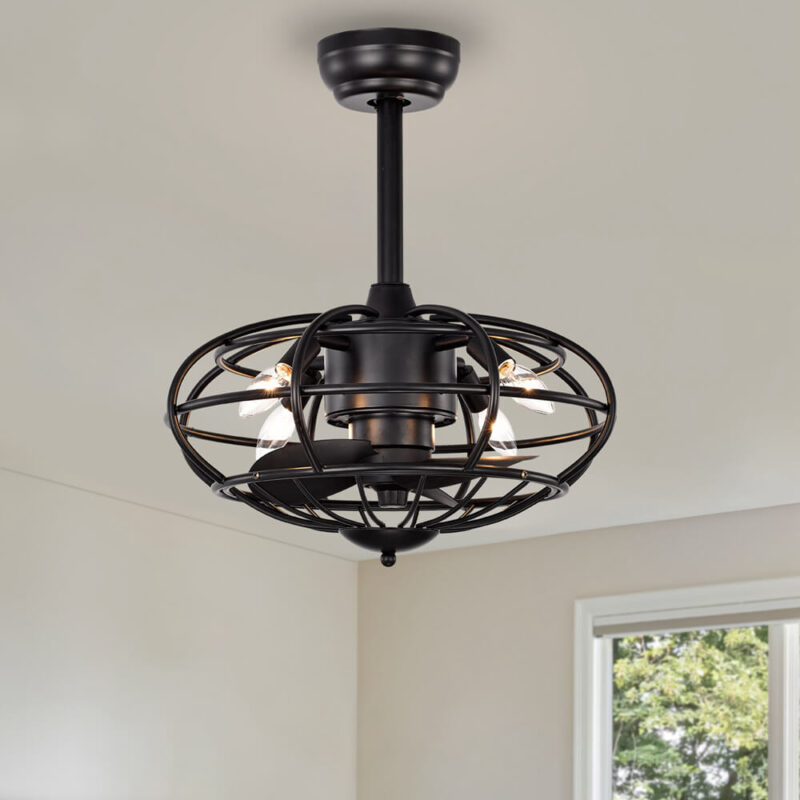
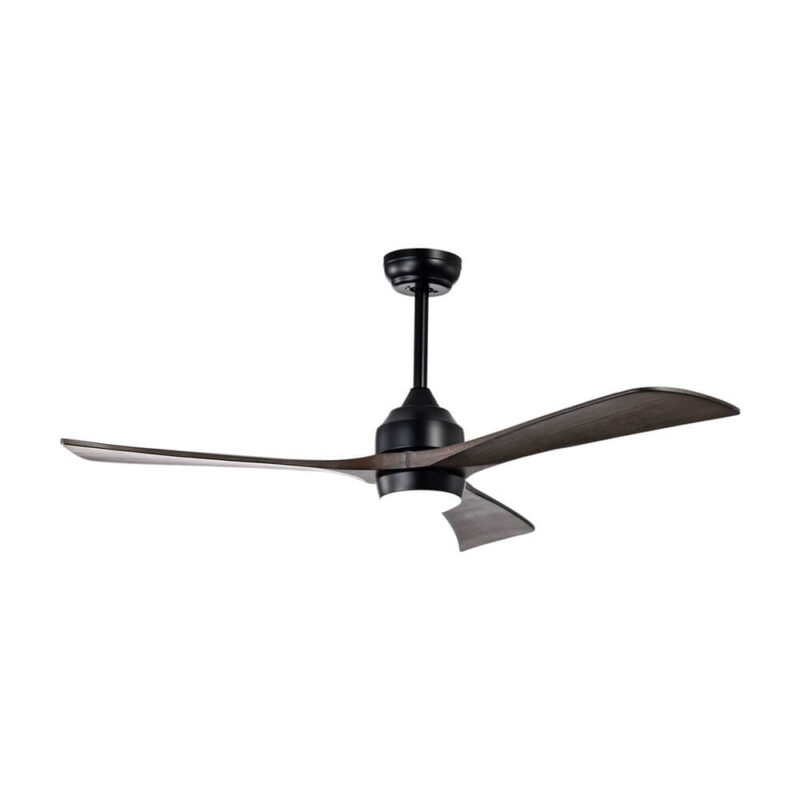
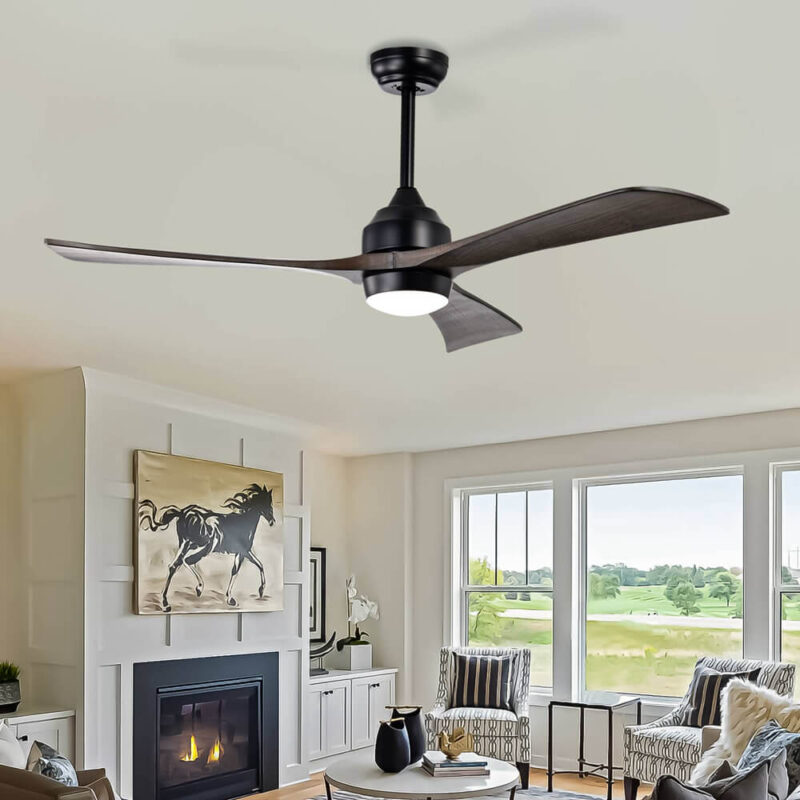
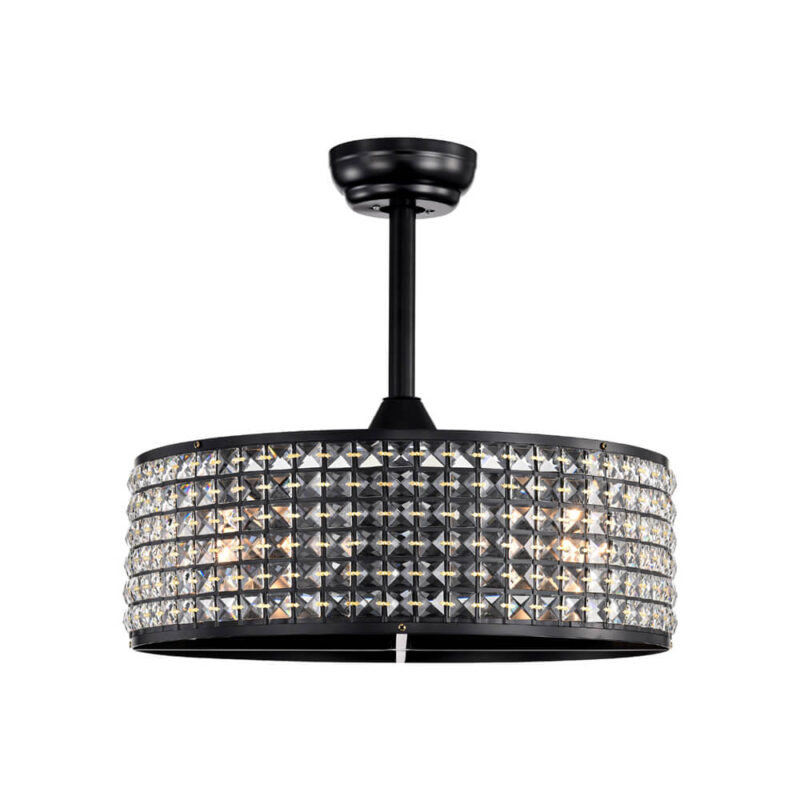
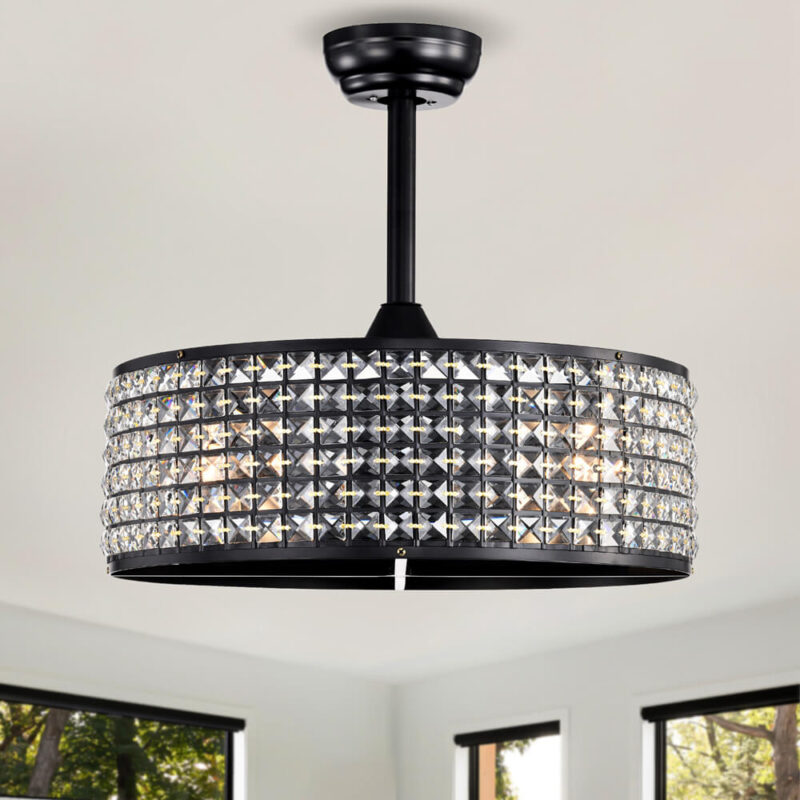
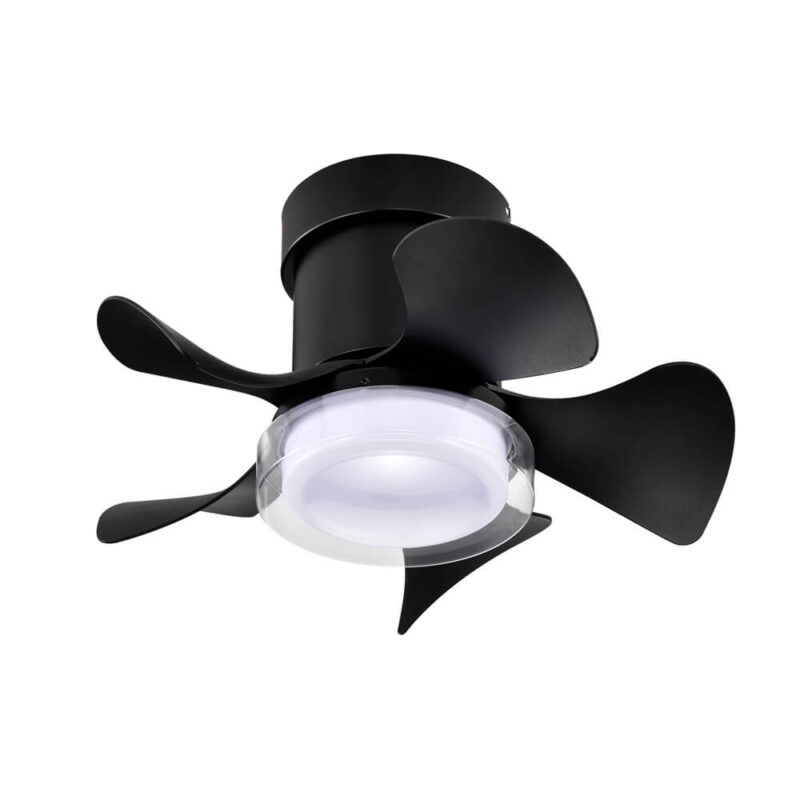
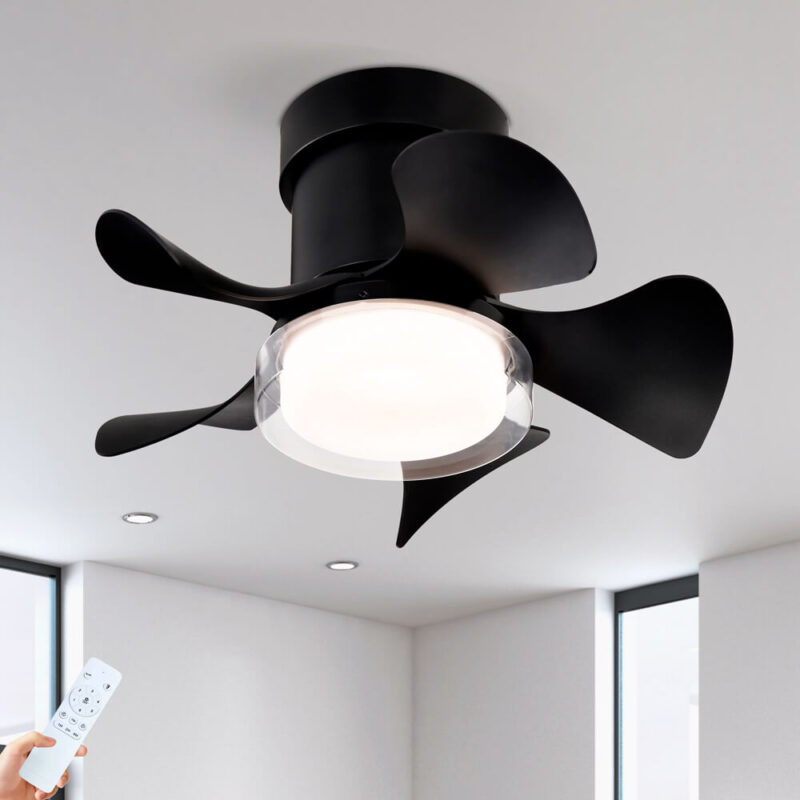
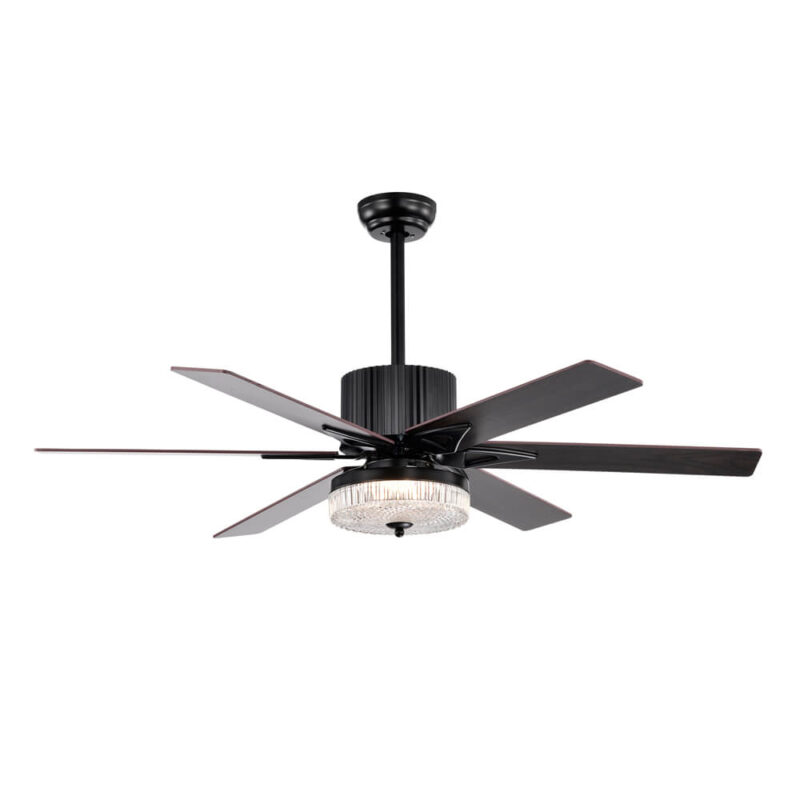
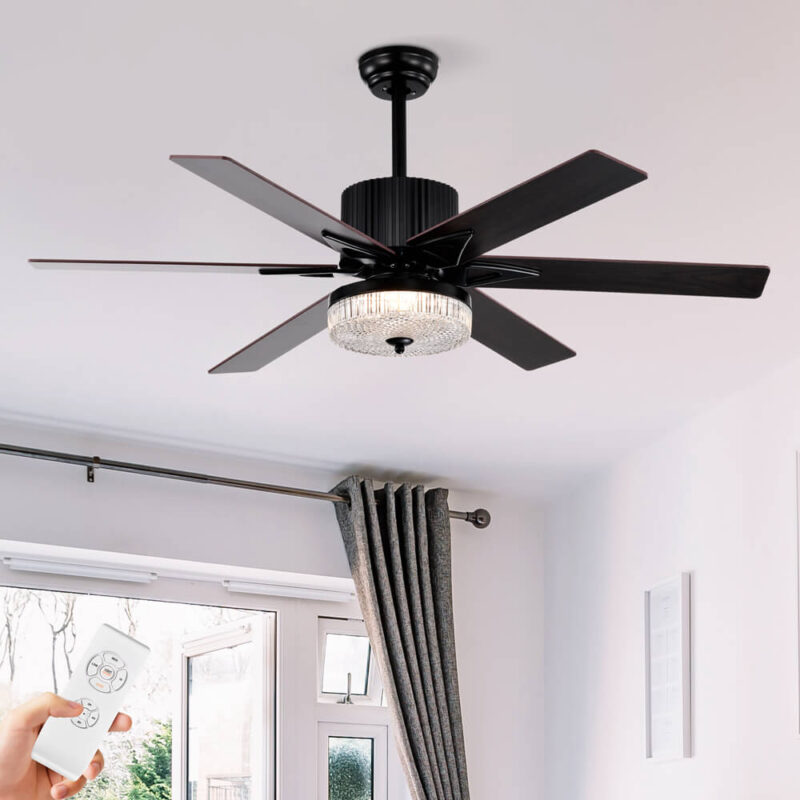
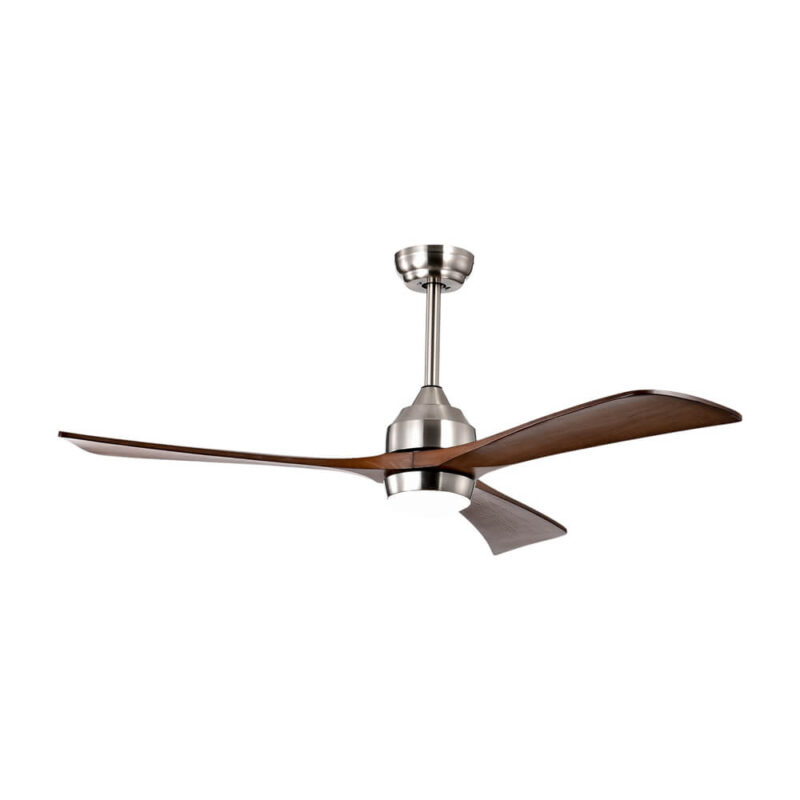
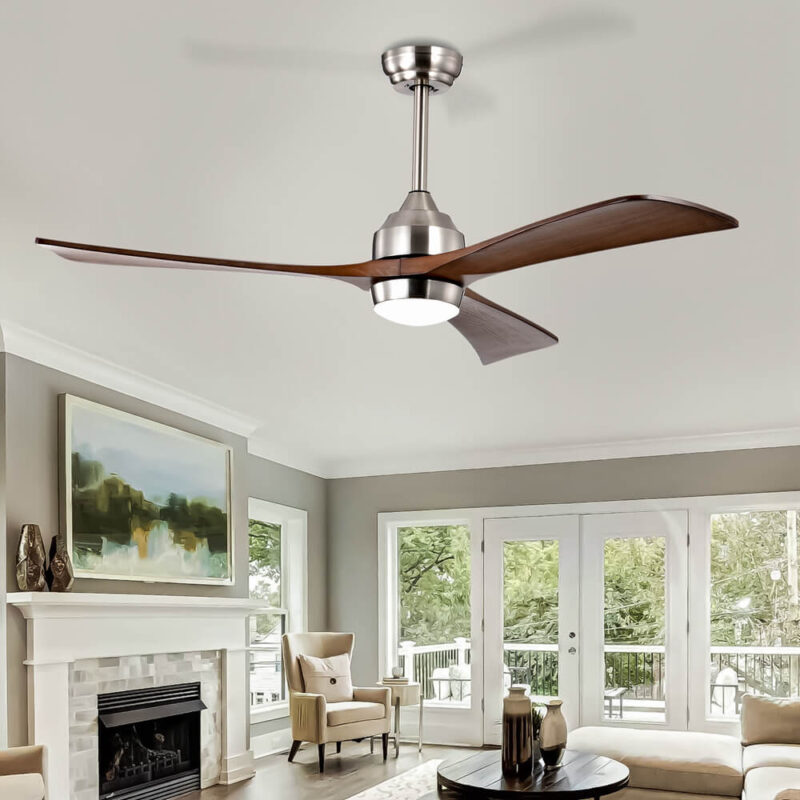
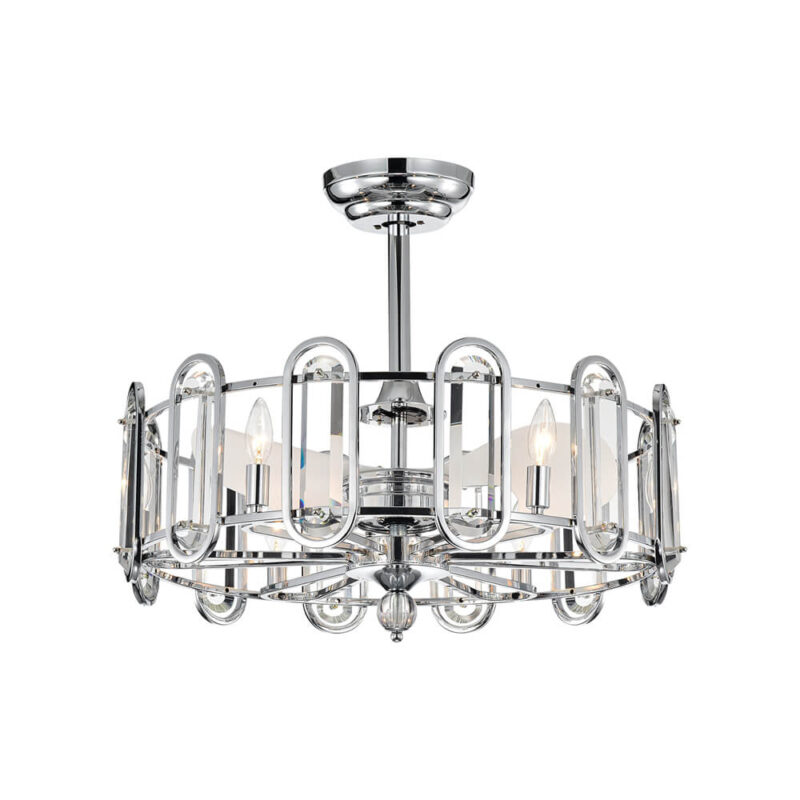
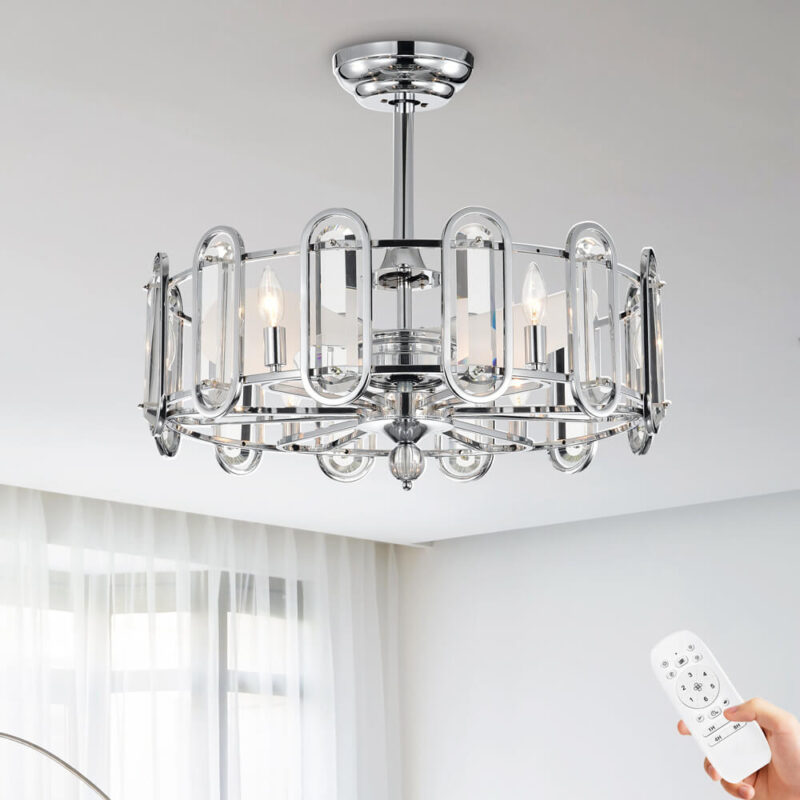
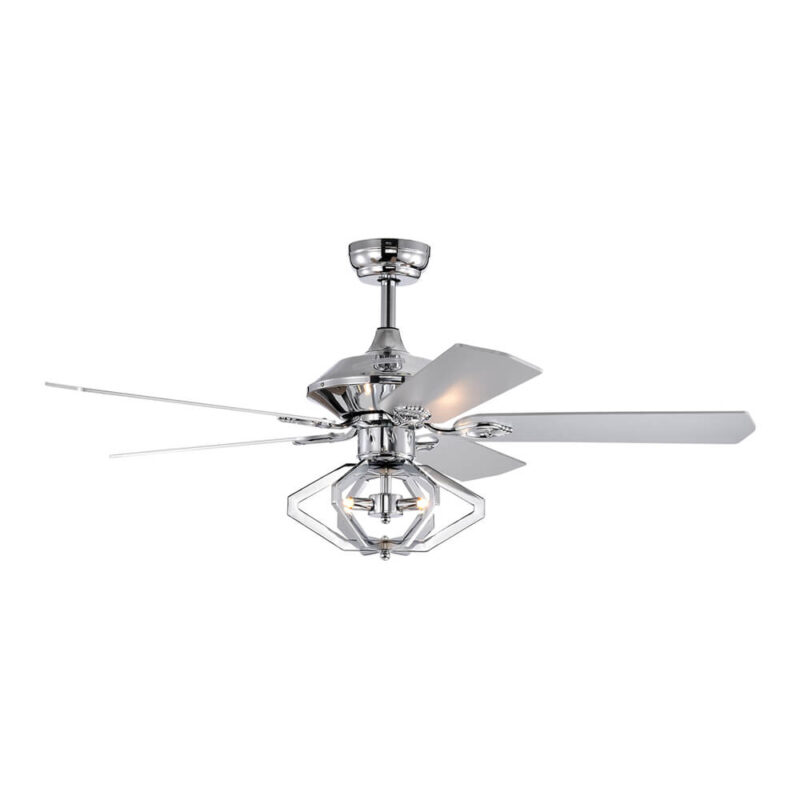
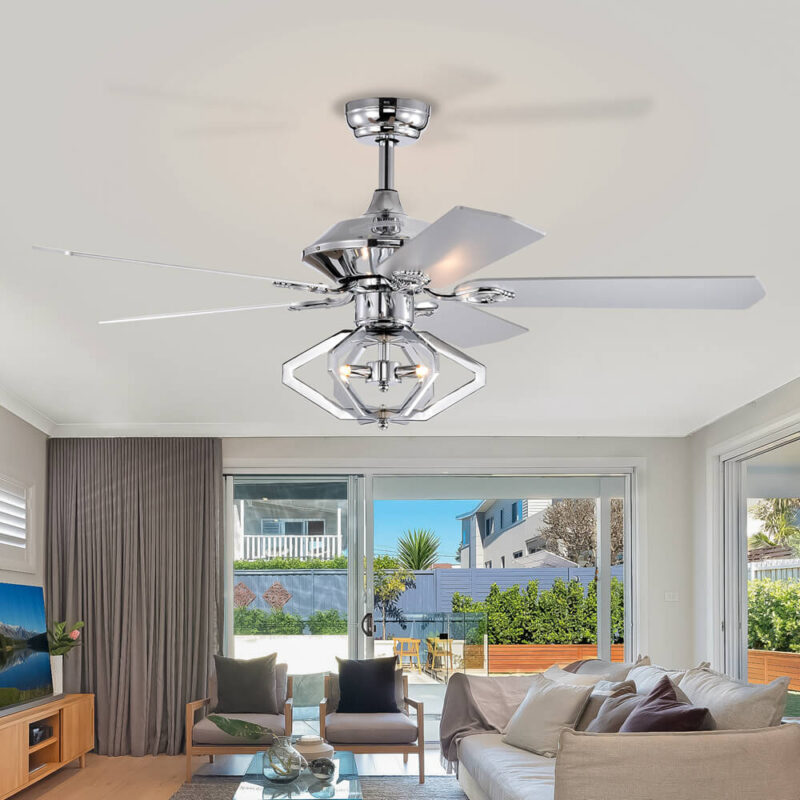
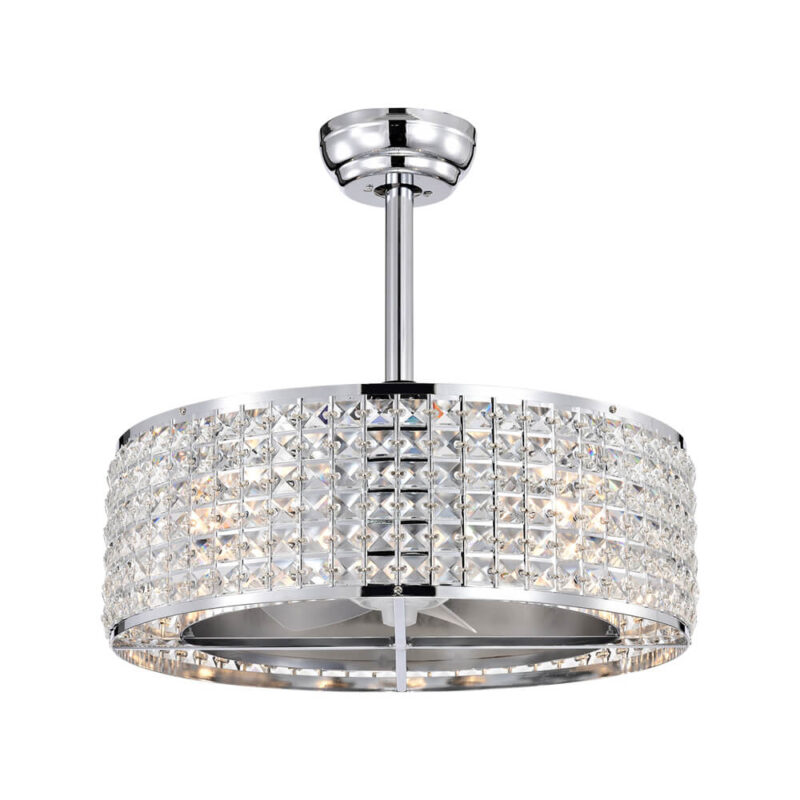
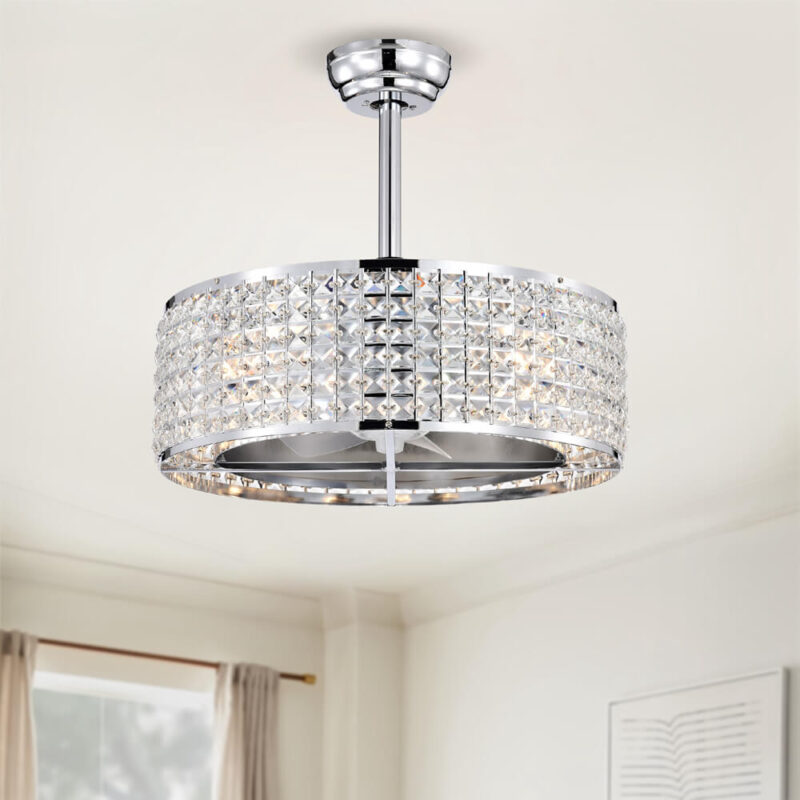
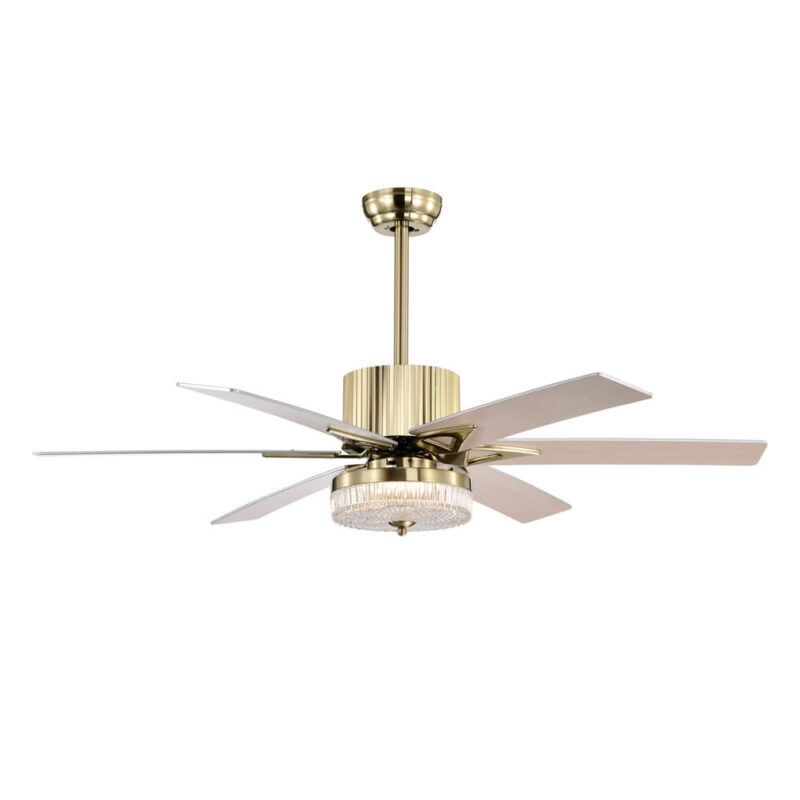
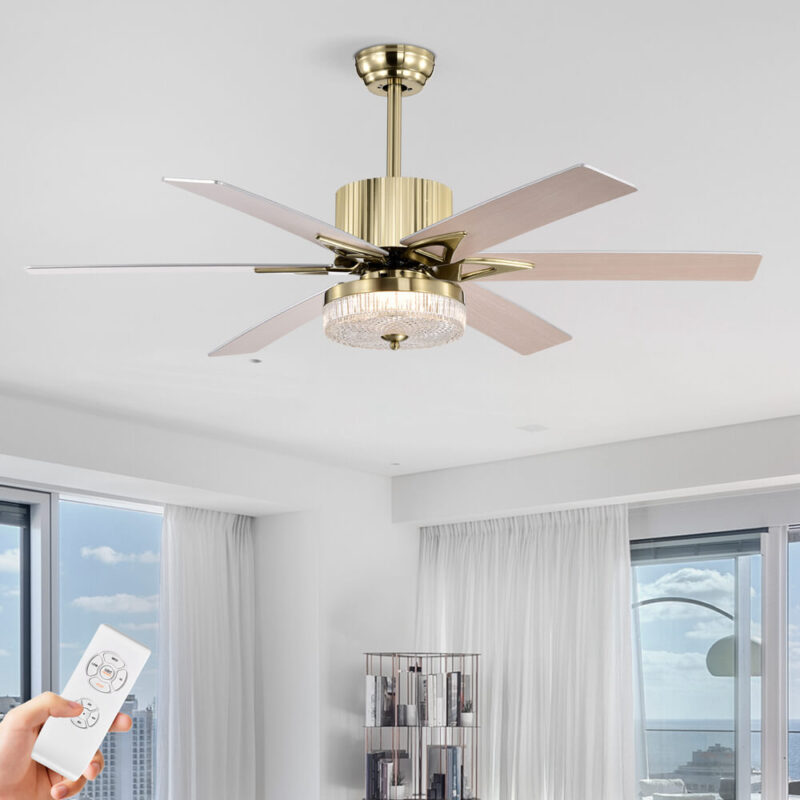
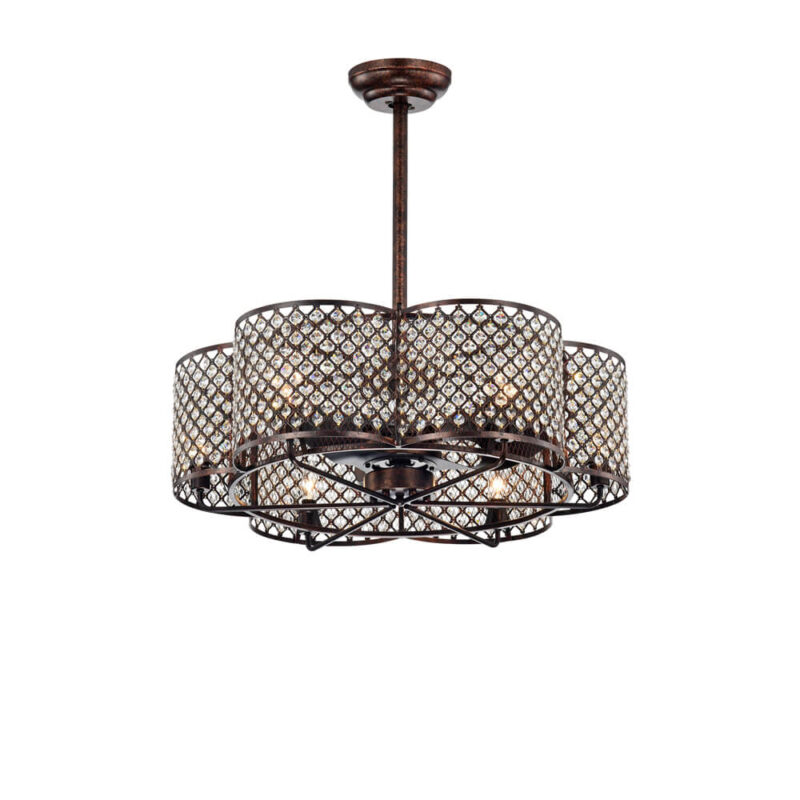
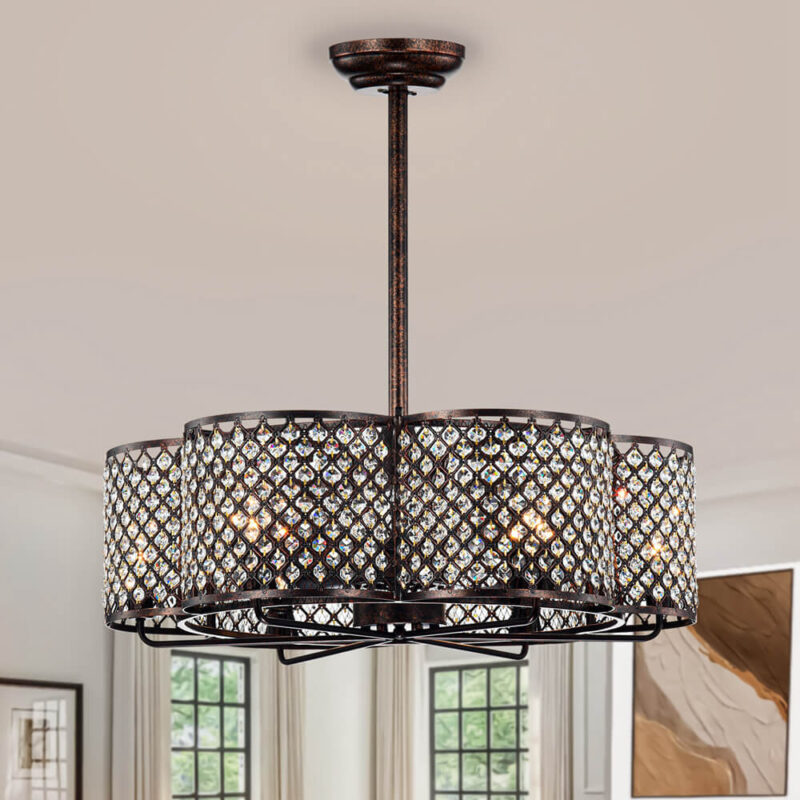
Ceiling fans—those classic, gently whirring fixtures—aren’t just stylish additions to a room; they’re a remarkably cost-effective solution for year-round climate control. When temperatures climb and air conditioning bills loom large, ceiling fans provide a delightful gust of relief without siphoning away too much hard-earned cash. Conversely, when winter arrives, a simple switch of the fan direction can coax that warm air from the ceiling back down where you need it. It’s all about efficient airflow and cozy comfort.
The decision to install a ceiling fan goes beyond mere temperature control. With every spin, a ceiling fan boosts energy efficiency, reducing reliance on energy-hungry HVAC systems. And here’s the kicker: it doesn’t break the bank. The upfront costs are considerably lower than most HVAC upgrades, and they pay off by lowering energy bills month after month. You get a solution that’s easy on the budget, easy on the eyes, and, as a bonus, keeps your decor on point.
But here’s where things get intriguing—installing a ceiling fan isn’t one-size-fits-all. Fan type, ceiling height, wiring complexity, and your choice of DIY versus professional installation all influence the final bill. You may think, "A fan is just a fan," but between various options like rotational, directional, and even WiFi-connected smart fans, your choice can dramatically affect costs.
Let’s dive into the world of ceiling fan installation, breaking down each factor that could sway your budget, from labor costs to high ceilings and unique styles. Prepare for a refreshing perspective on an age-old comfort solution—because creating the perfect breeze is as much an art as it is a science.
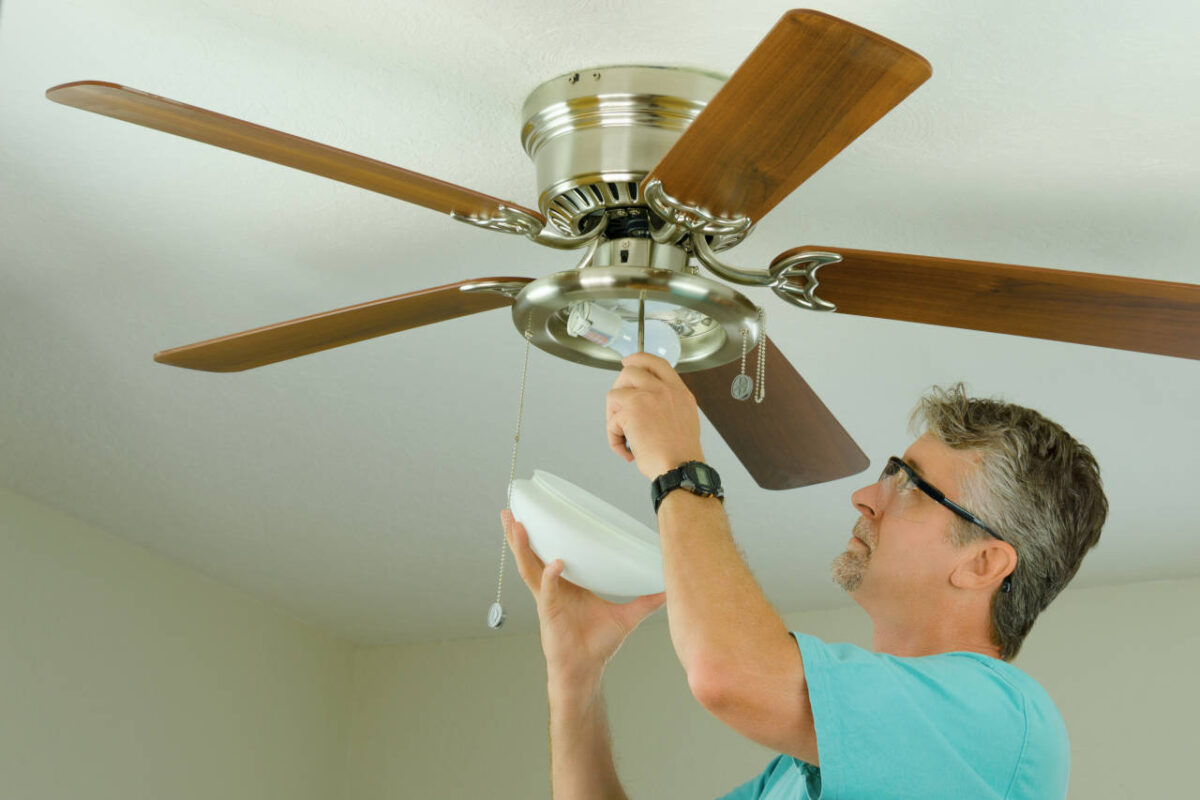
Average Ceiling Fan Installation Costs: What to Expect When You’re Expecting Airflow
When it comes to ceiling fan installation costs, let’s get right to it—if you’re looking for a breezy addition to your home without sweating over the budget, you’re in luck. The national average for ceiling fan installation costs generally ranges from a tidy $100 to around $700, depending on the specifics. But, like a perfectly chilled margarita, some ingredients can affect the final bill.
The Price of a Breeze: National Average Costs
| Installation Type | Typical Cost Range |
|---|---|
| Simple Replacement | $100 - $250 |
| New Installation (Basic) | $250 - $500 |
| Complex Installation | $500 - $700+ |
Most straightforward installations with existing wiring are at the lower end, while brand-new setups with wiring and a high-end fan model might hover near the higher figures.
Factors That Could Tip the Scale
Ceiling fan installation costs can vary based on four key factors: labor, the fan type you’re eyeing, the location, and the potential wiring needs.
1. Labor Costs
Labor costs can range widely. Hiring an electrician or handyman for a standard replacement might set you back $50 to $200 per hour. But, if your install involves complex wiring or high ceilings that require more finesse (and possibly scaffolding), prepare for a few extra dollar signs.
2. Fan Type
Not all fans are created equal. Your basic fan—perfect for indoor spaces with standard needs—sits comfortably at the lower end. However, throw in high-end models like directional, rotational, or outdoor-rated fans, and you could be looking at a heftier price tag.
3. Location, Location, Location
That high vaulted ceiling or outdoor gazebo adds more than just drama; it also adds dollars to the installation. Fans installed at greater heights need specialized equipment, like extended downrods or even sloped ceiling mounts, and more labor, which could nudge costs upward.
4. Wiring Needs
For homes with existing fan wiring, consider yourself blessed. Installation here is often simple, a matter of swap-and-screw. But if your ceiling is a fan-free zone with zero wiring, you’re looking at an extra bill for new wiring, which can add anywhere from $100 to $500—or even more if things get intricate.
DIY vs. Professional Installation: To Drill or Not to Drill?
Installing a ceiling fan yourself might sound like a bold adventure. However, unless you’re both comfortable and capable with electricity, the DIY route can quickly become a hazardous escapade. At around $100 to $200, DIY-ing a simple swap-out is doable for the experienced. But complex installations should ring the pro’s doorbell.
| Installation Method | Cost Range | Pros | Cons |
|---|---|---|---|
| DIY | $50 - $200 | Cost-effective for simple replacements | Risky if wiring or high ceilings |
| Professional | $100 - $700 | Safe, compliant with building codes | Higher upfront costs |
The choice is yours: go DIY if the setup is straightforward, or opt for a pro for peace of mind (and fewer shocking surprises). The ultimate decision? Whether you’re in the mood to save a few bucks or splurge on expert precision, a cooling breeze will soon be well within reach.
Factors Influencing Ceiling Fan Installation Costs: The Devil’s in the Details
Getting a ceiling fan installed sounds simple enough. But, like most things in life, a few factors can quickly change the budget from “affordable” to “Are we installing an aircraft?” Here’s what impacts your final tab.
Labor Costs: The Hands that Make the Magic Happen
Hiring a professional is often the safest bet, but those hands don’t come cheap.
Electrician vs. Handyperson Rates
On average, electricians charge between $50 and $130 per hour. A licensed handyperson might charge less, around $40 to $100, but they may not tackle complex wiring jobs. Simple replacements can be handled in an hour, keeping labor costs down. However, a complex installation with new wiring or a high ceiling? That could mean two to three hours or more.
Regional Variations in Labor Costs
Where you live can have a huge impact. In urban areas, you might see prices pushing the higher end. In rural areas, the rates can drop, but always check for a licensed professional—you want someone who knows what they're doing.
| Labor Type | Cost Range |
|---|---|
| Electrician | $50 - $130/hour |
| Handyperson | $40 - $100/hour |
Fan Unit Costs: From Basic to Blow-the-Budget
Let’s talk fans—their style, size, and bells and whistles can drastically affect their price.
Standard Price Ranges by Fan Type
There’s your standard ceiling fan, which will run from $50 to $300. It’s simple and gets the job done without too much flair. If you’re looking at a low-profile or hanging propeller model, the price bumps up to $300-$550, perfect for larger rooms or high ceilings. But if you’re after a luxury look—think rotational or dual-motor fans—be ready to invest anywhere from $500 to $1,500 or more.
| Fan Type | Price Range |
|---|---|
| Standard | $50 - $300 |
| Low-Profile | $150 - $500 |
| Hanging Propeller | $300 - $900 |
| Directional | $150 - $800 |
| Rotational | $500 - $1,500+ |
The Price of Luxury: Smart and High-End Fans
Fancy a fan with WiFi controls? Perhaps a fan with an integrated lighting system? These luxury or smart models add $300 to $1,400 to the price tag. Sure, it’s an investment, but being able to control your fan from your smartphone might just make you feel like a wizard.
Wiring Requirements: The Hidden Price of Connectivity
If you already have wiring in place, pat yourself on the back—you’re saving hundreds. A quick install with existing wiring will keep costs in check, around $100 to $300. But if you’re breaking new ground and adding fresh wiring to an old ceiling, prepare for an increase. Installing new wiring, switches, and even circuit breakers can add $500 to $2,000 or more, depending on the complexity.
Cost of Wiring Needs
| Wiring Situation | Estimated Cost Range |
|---|---|
| Existing Wiring | $100 - $300 |
| New Wiring Needed | $500 - $2,000+ |
Additional Accessories and Customization: The Icing on the Fan Cake
Who doesn’t love a little extra? Ceiling fan accessories add style and function, but they don’t come free.
Price of Popular Add-Ons
- Downrods: For those high-ceiling setups, a downrod can cost from $10 to $75, depending on length.
- Angled Ceiling Mounts: Have a vaulted ceiling? You’ll need an angled mount, which costs around $20 to $50.
- Remote Controls & Smart Switches: If you want remote convenience or smart home compatibility, add $30 to $100.
Adding these accessories can nudge the final installation cost up by $50 to $200, or even more if you’re choosing premium versions.
| Accessory | Cost Range |
|---|---|
| Downrod | $10 - $75 |
| Angled Mount | $20 - $50 |
| Remote Control/Smart Switch Kit | $30 - $100 |
Ceiling Height and Location: The Higher the Ceiling, the Higher the Cost
The installation location, whether it’s your living room or outdoor patio, plays a big role. High ceilings require extended downrods and sometimes scaffolding, which can mean added labor and materials costs. And outdoor fans, needing to withstand the elements, are generally more expensive.
Special Conditions Cost Breakdown
| Location Type | Cost Considerations |
|---|---|
| High Ceilings | Longer downrods, scaffolding |
| Vaulted Ceilings | Angled mounts, extra labor |
| Outdoor Spaces | Weatherproofing, higher fan costs |
Each of these factors can add flair—and dollars—to your installation. So, when planning your ceiling fan project, consider these aspects to keep costs manageable and to get the best spin for your buck.
Ceiling Fan Direction in Winter: The Warm Spin You Never Knew You Needed
Clockwise Rotation: The Winter Wonder Spin
Winter’s chill is creeping in, and while your ceiling fan might seem like it’s gone into hibernation, it’s actually gearing up for its cold-weather cameo. The trick? Switching those blades to a clockwise rotation. When your fan spins clockwise, it creates an updraft—pulling the cool air from below and sending it upwards. This allows the warm air (which loves to hang out near the ceiling like it's at an exclusive VIP lounge) to get recirculated down to where you actually need it—around you.
Recirculating Warm Air: A Cozy Blanket of Heat
Ever notice how your toes are freezing while your ceiling is probably sweating with all that trapped warm air? That’s where your fan swoops in to save the day. By pulling cool air up and pushing warm air down the walls, it creates a cozy blanket of heat that wraps around your room. It’s like redistributing wealth, but in the form of warm air. You’ll feel the difference, especially if you have high ceilings where warmth loves to go hide like it’s playing hard-to-get.
Lower Heating Costs, Higher Comfort
Here's where things get even better: this little fan trick can lower your heating costs. When that warm air isn’t stuck at the top of your room, your heating system doesn’t have to work overtime to keep you toasty. Instead, the fan helps spread the warmth more evenly, meaning you can dial down the thermostat and still feel snug. In fact, this simple hack can reduce your heating bill by up to 15%. It’s like having a personal heat manager that works for cheap—real cheap.
How to Check if You’re in Winter Mode
Not sure if your fan is doing the winter dance? It’s easy to check. Stand directly beneath the fan and look up. If the blades are spinning clockwise, congratulations, you’re in winter mode! You shouldn’t feel a breeze blowing directly down on you. Instead, the air should be gently swirling upwards. If it feels like you’re standing under a mini-tornado, it’s time to flip that fan into winter gear. Most fans have a switch on the motor housing, or if you’re feeling fancy, your remote control might have a button for it. Just flip the switch, sit back, and let your fan help you conquer winter without breaking the bank.
Breakdown of Ceiling Fan Costs by Type: Find Your Perfect Fit
Not all ceiling fans are created equal. In fact, they range from humble budget models to high-tech breeze machines with prices to match. Here’s a breakdown of fan types, from your classic indoor models to heavy-duty outdoor fans, along with where they shine best.
Standard Ceiling Fans: Simple, Stylish, and Super Affordable ($50 - $300)
The standard ceiling fan is the all-purpose option. These fans are designed for indoor use and typically come with basic features like a pull chain, five blades, and a no-fuss style that suits most decor. If you’ve got existing wiring, this fan is a quick and easy install for any room where you want steady, reliable airflow without too many extra bells and whistles.
| Best For | Indoor rooms with existing wiring |
|---|
Low-Profile Ceiling Fans: Hug the Ceiling, Save the Space ($50 - $300)
Low-profile, flush-mount, or “hugger” fans are made to be best friends with your ceiling. They’re ideal for spaces with low ceilings, usually under eight feet, where every inch counts. These fans don’t use a downrod, so they sit snugly against the ceiling, creating a cozy, streamlined look and leaving headspace intact. Perfect for attics, basements, or any other height-challenged area.
| Best For | Low-ceiling rooms (under 8 feet) |
|---|
Hanging Propeller Fans: Lofty Style for Lofty Spaces ($150 - $550)
If you’ve got high ceilings, then you’ve got the real estate for a hanging propeller fan. Designed with longer downrods, these fans bring the cooling breeze closer to the people rather than letting it hover way up high. With blades often styled like classic airplane propellers, they’re both functional and stylish for spacious rooms. Installation may cost a bit more since these fans tend to be larger, but for vaulted ceilings or open areas, they’re the perfect choice.
| Best For | High-ceiling rooms, lofts, and open spaces |
|---|
Directional Fans: Send the Breeze Where You Please ($150 - $800)
Directional fans let you have your airflow your way. These fans can be angled to direct the breeze exactly where you want it, making them great for larger rooms or areas with specific cooling needs, like above a reading nook or beside a cozy chair. Often encased in cages or with an adjustable arm, they provide targeted cooling and lend a unique aesthetic flair to the room. The added functionality can push the price up a bit, but for some, it’s worth every penny.
| Best For | Targeted airflow in large or oddly shaped rooms |
|---|
Rotational or Dual-Motor Fans: The Dynamic Duo for Big Spaces ($200 - $1,500)
For maximum air movement in large spaces, rotational or dual-motor fans are the showstoppers. These fans have two or more motor heads that can spin in opposite directions, creating robust airflow throughout a room. They’re perfect for sizable areas like living rooms, covered patios, or even quirky L-shaped spaces where one standard fan just won’t cut it. The powerful dual-motor action and unique look come at a price, but it’s a price worth paying for maximum cool factor—literally.
| Best For | Large, irregularly shaped rooms, or spacious indoor-outdoor areas |
|---|
Outdoor Fans: Weatherproof Wonders for the Great Outdoors ($70 - $4,000)
Outdoor fans are made tough, built to survive the elements, and priced for the serious outdoor entertainer. Whether you’re setting one up in a screened-in porch, under a pergola, or right in the open air, you’ll find both damp-rated and wet-rated options. Damp-rated fans are ideal for covered outdoor spaces, while wet-rated fans can handle direct exposure to rain, snow, or salty sea breezes. These fans come with sealed motors and corrosion-resistant blades, and for that rugged durability, you might see prices soar up to $4,000. But hey, a reliable breeze on a hot summer night? Priceless.
| Best For | Outdoor patios, covered or exposed; damp or wet environments |
|---|
From budget-friendly basics to high-end, weatherproof wonders, there’s a ceiling fan for every style and every space. Choose the one that suits your needs best, and let the fresh air flow.
Room-Specific Fan Usage: Tailoring the Spin to Your Space
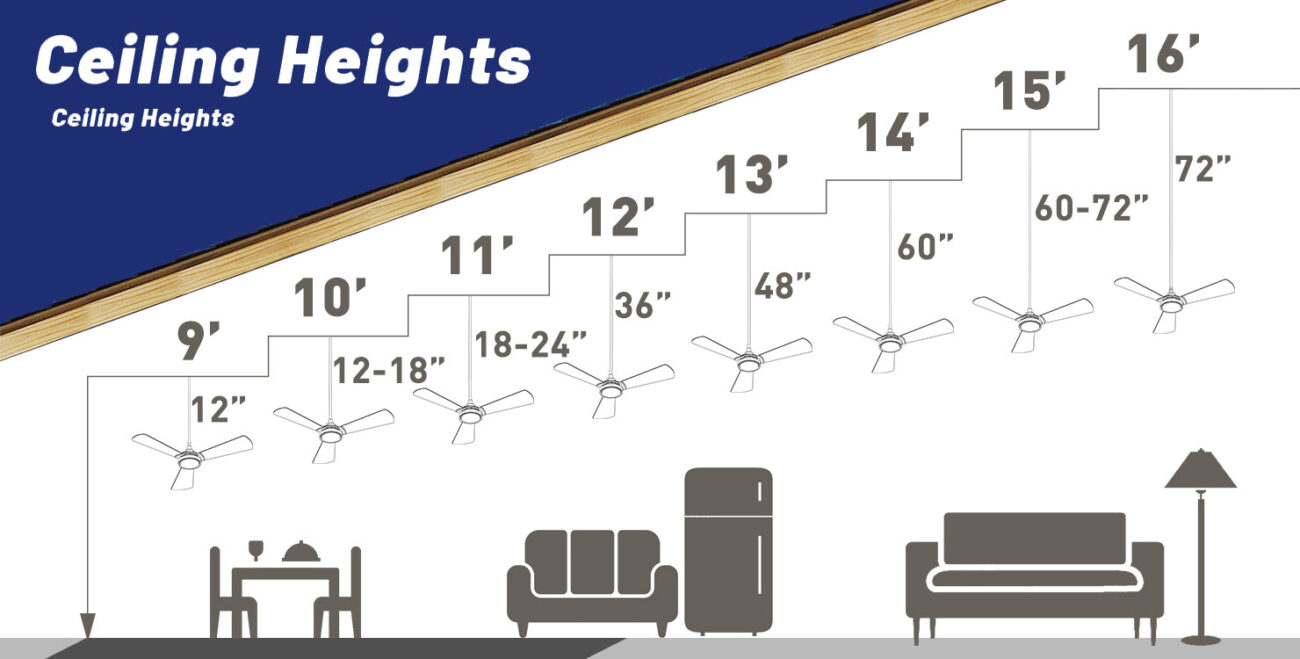
Not all rooms are created equal, and neither are their ceiling fans. Each room has its own unique vibe—and fan needs. Whether you’re dealing with sky-high vaulted ceilings, low-key low ceilings, or even the great outdoors, there’s a specific way to use your fan that’ll keep you comfortable and maybe even a little smug with your newfound fan expertise.
Vaulted or High Ceilings: The Counterclockwise Constant
If your room is blessed with vaulted ceilings—or ceilings so high you could practically host cloud-watching parties in your living room—you’ve got one goal: air circulation. With all that air hanging out up there, the trick is to keep your fan in counterclockwise mode year-round. That’ll keep the air moving, pushing cool air down in the summer and mixing it up during the winter. High ceilings are notorious for hoarding warmth near the top, but this way, you can force all that cozy air to spread out evenly like a well-buttered piece of toast. Plus, you won’t feel like you're living in two different climates, depending on where you stand in the room.
Low Ceilings: Speed and Direction Make All the Difference
Now, if you’re dealing with low ceilings, it’s a different ball game. With less space to play with, you don’t want your fan blowing air around like a windstorm at a picnic. Instead, you’ll need to adjust both the speed and direction of the fan depending on the season. In the summer, keep it spinning counterclockwise on a medium speed to cool the room without making it feel like you’re in a wind tunnel. But during the winter, switch it to a slow clockwise rotation. This way, the warm air stays circulating without blowing your dinner plates off the table or turning your cozy bedroom into an arctic blast zone.
Outdoor Fans: Cooling and Bug Battling, All in One
Let’s talk outdoor fans—because your patio or porch deserves a little air love too. In the summer, keep your outdoor fan spinning counterclockwise to stay cool while also pulling double duty as an insect deterrent. That’s right, your fan’s breeze is strong enough to keep those pesky mosquitoes at bay while you sip your lemonade (or something stronger, we don’t judge). Bonus points for setting it to a higher speed—just enough to keep things cool but not so fast that you accidentally launch your favorite garden gnome into the neighbor’s yard.
So, whether your ceilings are scraping the sky, hanging low, or braving the great outdoors, there’s a perfect fan setting waiting to make every space feel just right.
Installation Cost Breakdown by Fan Features: Adding Extra Flair to Your Air
Ceiling fans aren’t just about spinning blades anymore. Modern fans come with a smorgasbord of nifty features—some practical, some luxurious, and all capable of elevating your comfort (and, let’s be real, your bill). Here’s what you can expect to pay if you want a fan that does more than just circulate air.
Built-In Light Fixtures: Shedding Light (and Cost) on Dual-Purpose Fans
Why install a fan and a light when you can have both in one stylish package? Ceiling fans with built-in light fixtures are ideal for illuminating a room while keeping it cool, but that extra glow comes with an extra cost. Fan-only models typically sit on the lower end of the pricing spectrum, while light-and-fan combos will add anywhere from $50 to $200 to the price tag. It’s a small price to pay for a multitasking marvel that saves space and brings both cool air and warm light to the room.
| Feature | Additional Cost |
|---|---|
| Fan Only | Base price |
| Fan with Light Fixture | + $50 - $200 |
Remote Control Options: The Lazy Genius’ Dream
A ceiling fan remote control is the cherry on top of modern convenience. Instead of getting up, you can change the fan speed, direction, and light settings with a mere flick of your thumb. Basic remote control kits will add around $30 to $50 to your setup, while high-tech smart options that sync with your home’s Wi-Fi might set you back $50 to $100. Imagine lounging on your couch, pressing a button, and basking in a breeze with zero effort—remote controls make the dream a reality.
| Control Type | Cost Range |
|---|---|
| Basic Remote Control | $30 - $50 |
| Smart Wi-Fi Enabled Control | $50 - $100 |
Reversible Mode for Seasonal Use: Two Comforts, One Fan
Ah, the beauty of the reversible ceiling fan—a feature that, come summer or winter, makes your fan a trusty year-round companion. In the summer, set your fan to run counterclockwise to create a cooling breeze. When winter rolls around, reverse the blades clockwise, and it’ll push warm air down from the ceiling, keeping you cozy without cranking up the thermostat. Reversible models may add about $20 to $50 compared to single-direction fans, but the extra value of seasonal versatility more than makes up for it.
| Fan Type | Benefit | Additional Cost |
|---|---|---|
| Single Direction | One-way airflow | Base price |
| Reversible (Dual Mode) | Year-round comfort | + $20 - $50 |
From extra lighting to remote-controlled convenience and seasonal adaptability, these fan features are more than just fancy add-ons—they’re little luxuries that make your home life breezier and brighter, one click and one season at a time. Choose the features that suit your lifestyle and prepare to upgrade your air in style.
Cost Comparison: DIY vs. Professional Installation—Who Should Handle the Blades?
Deciding whether to install a ceiling fan yourself or bring in the pros can be a bit of a conundrum. On one hand, you’ve got cost savings and the thrill of DIY glory; on the other, the peace of mind knowing it’s done right. Let’s break down what each option brings to the table, from costs to hidden risks.
DIY Installation: A Penny Saved, a Ceiling Fan Installed?
For the bold and budget-conscious, DIY ceiling fan installation sounds like a win. If you’re simply swapping out an old fan for a new one and the wiring is already there, you could potentially save $50 to $250 in labor costs. Plus, basic tools (a drill, ladder, and perhaps a helper for good measure) are all that’s required.
However, don’t let the low cost fool you—there’s risk involved. Mistakes in wiring can lead to flickering lights, noisy fans, or worse, the possibility of a fire hazard. And if you’re not quite a wiring wizard, you may end up violating electrical codes, which could mean bigger expenses down the road.
| DIY Benefits | DIY Risks |
|---|---|
| No labor costs ($50 - $250 saved) | Potential wiring mistakes |
| Perfect for simple replacements | Safety hazards and code violations |
| Basic tools required | Possible long-term costs if not done properly |
Professional Installation: Expert Hands and Peace of Mind
When the job gets tricky—think new wiring, high ceilings, or fans with built-in lighting—calling in the pros is often the safest choice. A licensed electrician brings more than just tools; they bring knowledge, skill, and a safety guarantee. They’ll make sure the wiring is up to code, the fan is securely mounted, and the installation is safe for years to come. And if any hiccup does arise, they’re insured, so you’re covered.
Hiring a pro for a ceiling fan installation will set you back anywhere from $100 to $700 depending on the complexity. But, with a pro’s expertise, you’re paying for a job done right, plus the peace of mind that your fan won’t come crashing down mid-spin.
| Pro Benefits | Pro Costs |
|---|---|
| Code-compliant, safe installation | $100 - $700 depending on job complexity |
| Insurance coverage and expertise | Higher upfront costs |
| Ideal for complex wiring and high ceilings |
DIY vs. Professional: Final Thoughts
If it’s a simple fan replacement and you’re handy with a screwdriver, DIY is a solid choice for savings. But if your project involves any kind of wiring overhaul, it’s wise to let a licensed electrician take the wheel. After all, nothing’s cooler than a fan that’s both functional and safely installed.
Detailed Installation Cost Scenarios: From Simple Swaps to Outdoor Breezes
When it comes to ceiling fan installations, costs can vary wildly based on the specifics of the job. Are you just replacing an old fan, adding a whole new fixture, or braving the elements with an outdoor installation? Let’s walk through the most common scenarios and what you can expect to pay for each.
Basic Installation with Existing Wiring: The Straightforward Swap ($100 - $300)
If your space already has wiring for a fan, consider yourself lucky—this is as simple as it gets. Replacing an old fan with a similar model costs around $100 to $300, covering the basics like labor and mounting. It’s a short job that shouldn’t take more than an hour or two, especially if you’re just swapping out one fan for another. Minimal hassle, minimal cost.
| Scenario | Cost Range |
|---|---|
| Basic Replacement with Wiring | $100 - $300 |
Complex Installation Without Existing Wiring: Bring on the Electrician ($500 - $2,000)
For rooms that are brand new to the fan life, installing without existing wiring is a different ballgame. You’re looking at $500 to $2,000, with much of that going towards the electrician’s labor to set up wiring, add a switch, and potentially modify the ceiling to accommodate the fan. This option is ideal for those committed to air circulation in a space that’s never had it before. Think of it as an upgrade with a dash of adventure, and a splash of sticker shock.
| Scenario | Cost Range |
|---|---|
| New Wiring and Modifications | $500 - $2,000 |
Outdoor Fan Installation: Battling the Elements ($300 - $4,000)
Planning to add a fan outside? Prepare for a few extra considerations. Outdoor fans are designed to withstand moisture, but this added durability brings up the cost. For a covered porch, you’ll want a damp-rated fan, while uncovered spaces require a wet-rated fan that can take on rain, wind, or even the occasional bird. Installation costs range from $300 to $4,000, depending on wiring, moisture-proofing needs, and fan quality. But the payback? Cool, controlled breezes on your patio, rain or shine.
| Scenario | Cost Range |
|---|---|
| Outdoor Fan Installation | $300 - $4,000 |
Installation of Multiple Fans: A Cooling Combo Deal ($200 - $1,200 per fan)
Installing multiple fans in one visit can help you score some savings. Labor costs for installing two or more fans at once typically decrease because you’re already set up for the job. Expect each fan to cost around $200 to $1,200, depending on complexity. Bundling the installations can cut down on travel time and setup fees, so if you’re thinking of outfitting several rooms (or your entire home), it’s a good time to go all in and let the air flow throughout.
| Scenario | Cost Per Fan |
|---|---|
| Multiple Fans Installed | $200 - $1,200 |
Whether you’re making a straightforward replacement, taking on a complex project, or bringing comfort outdoors, each installation scenario has its own flavor—and price tag. Choose the setup that matches your needs and enjoy the fresh breeze wherever you are!
Tips for Reducing Ceiling Fan Installation Costs: Keep Your Wallet as Cool as Your New Fan
Installing a ceiling fan doesn’t have to send your bank account spinning out of control. With a sprinkle of savvy strategies and a dash of planning, you can breeze through the costs without sacrificing style or functionality. Here are some top tips to keep your installation costs as chill as the airflow from your new fan.
Choosing Locations with Existing Wiring: The Path of Least Resistance
Why reinvent the wheel (or in this case, the wiring) when you don’t have to? Installing your ceiling fan in a location that’s already wired is like finding a secret shortcut in a maze—it saves time, money, and a whole lot of headaches. Pre-wired spots mean you can skip the pricey electrical upgrades and jump straight to mounting that sleek new fan.
| Benefit | Description |
|---|---|
| Cost Savings | Avoid the expense of new wiring installations. |
| Ease of Installation | Simplifies the setup process, reducing labor time. |
| Safety Assurance | Existing wiring is often up to code, ensuring a safer installation. |
By sticking to pre-wired locations, you’re not just saving cash—you’re also ensuring a smoother, quicker installation process. It’s the easiest way to keep your budget intact while still enjoying all the benefits of a brand-new ceiling fan.
Scheduling Multiple Installations Together: Bundle Up and Save
If you’re planning to install more than one ceiling fan, why not tackle them all in one go? Bundling multiple installations can lead to significant savings on both labor and travel fees. Electricians and handypersons often offer discounts when you hire them for multiple jobs at once, making it a win-win situation for everyone involved.
| Strategy | Savings Potential |
|---|---|
| Single Visit Efficiency | Reduced travel time and fees per installation. |
| Bulk Labor Discounts | Lower hourly rates when handling multiple fans. |
| Material Cost Efficiency | Potential discounts on bulk purchasing of materials. |
By grouping your installations, you minimize the number of service calls and maximize the efficiency of the electrician’s time. Plus, having a fleet of fans spin into place simultaneously adds a harmonious aesthetic to your home without the extra costs.
Opting for Energy-Efficient Fans: Invest Now, Save Later
Choosing Energy Star-rated ceiling fans is like planting a money tree in your home. These energy-efficient models might come with a slightly higher upfront cost, but they pay dividends in the form of lower utility bills over time. Energy-efficient fans use less electricity while delivering the same, if not better, airflow compared to their less efficient counterparts.
| Fan Type | Energy Efficiency | Cost Impact |
|---|---|---|
| Standard Fans | Moderate efficiency | Lower initial cost, moderate savings. |
| Energy Star-Rated Fans | High efficiency | Higher initial cost, significant long-term savings. |
| Smart Fans | Variable efficiency with smart controls | Higher upfront investment, customizable energy usage. |
Investing in an energy-efficient fan is not just good for your wallet—it’s also a step towards a greener, more sustainable home. Over time, the savings on your energy bills will make up for the initial splurge, making it a smart financial move.
Considering Off-Season Purchases and Installation: Timing is Everything
Just like scoring a bargain on holiday decorations after the big shopping season, installing a ceiling fan during the off-season can lead to hefty discounts. Contractors and retailers often lower their prices during cooler months when demand is lower, allowing you to snag a great deal without waiting for summer to arrive.
| Season | Benefits | Savings Potential |
|---|---|---|
| Spring/Fall | Lower demand for installations, more availability. | Discounts on labor and materials. |
| Winter | Major discounts as contractors are busier elsewhere. | Best prices on high-end models. |
| Early Booking | Secure your installation at a reduced rate. | Potential for package deals and promotions. |
By scheduling your fan installation during the off-season, you not only save money but also enjoy more flexibility in choosing your preferred contractor. Plus, you can plan ahead and have everything set up before the heatwave hits or the chill sets in, ensuring your home is always comfortable without last-minute stress.
Final Breeze of Wisdom
Reducing ceiling fan installation costs is all about smart planning and strategic choices. From opting for pre-wired locations and bundling multiple installations to investing in energy-efficient models and timing your purchases wisely, these tips ensure you get the most bang for your buck. So go ahead, let your new ceiling fan spin its magic without making your budget blow away!
Benefits of Installing a Ceiling Fan: Comfort, Style, and Savings in Every Spin
Ceiling fans are the unsung heroes of home comfort. With every spin, they bring cooling breezes, energy savings, and a touch of elegance. Here’s why adding a ceiling fan is one of the smartest (and best-looking) upgrades you can make.
Energy Efficiency: A Power Saver’s Dream Come True
Ceiling fans are the budget-friendly way to stay cool without sending your electricity bill through the roof. Unlike power-hungry air conditioning units, ceiling fans use just a fraction of the energy. Instead of cooling the air itself, they create a refreshing breeze that helps you feel cooler, letting you dial down the AC and watch your utility bills do the same.
| Cooling Solution | Energy Use | Cost Impact |
|---|---|---|
| Ceiling Fan | ~40 watts/hour | Lower monthly bills |
| Central AC | ~2,000-5,000 watts/hour | Higher monthly bills |
With energy-efficient options like Energy Star-rated models, you can save even more while keeping every corner of your home comfortably breezy. Turn down the thermostat, save a few bucks, and let your ceiling fan do the heavy lifting for a lighter bill.
Improved Air Circulation: Say Goodbye to Stale Air and Sticky Rooms
Ever felt like your room’s air was just sitting there, heavy and unmoving? Ceiling fans are the answer. They keep the air circulating, reducing stuffiness and making every breath feel fresher. Ceiling fans are masters at pushing warm air down in winter and creating a cooling breeze in summer—transforming your living room from stale to splendid year-round.
| Season | Fan Direction | Result |
|---|---|---|
| Summer | Counterclockwise | Creates cooling breeze |
| Winter | Clockwise | Pushes warm air downward |
In humid areas, ceiling fans are a game-changer, helping to reduce humidity that can otherwise turn a room into a sticky situation. With better airflow, you’ll feel the difference—and so will your walls, floors, and furniture. After all, fresh air isn’t just a luxury; it’s a lifestyle.
Aesthetic and Functional Value: Upgrade Your Room’s Look and Feel
Gone are the days when ceiling fans were purely functional eyesores. Today’s designs can elevate your space with styles ranging from modern sleek to vintage charm. Whether you want a rustic wooden look, an industrial vibe, or a minimalist aesthetic, there’s a ceiling fan that suits your style.
But a ceiling fan doesn’t just look good; it’s a home improvement with substance. In addition to their decorative appeal, many models come with added features like integrated lighting, remote controls, and even smart technology that syncs with your home’s system. Function meets fashion as ceiling fans transform your rooms into cooler, more visually appealing spaces.
| Fan Feature | Benefit |
|---|---|
| Stylish Blades | Enhances room decor |
| Integrated Lighting | Adds function and ambiance |
| Smart Controls | Offers convenience and modern functionality |
With a ceiling fan, you’re investing in a piece that brings both charm and practicality. Think of it as jewelry for your home—an upgrade that’s as functional as it is fetching.
Ceiling fans are the perfect blend of efficiency, comfort, and style. They save you money, boost air circulation, and give your space a design edge. From cost savings to cooling breezes, these fans deliver so much more than just air.
Frequently Asked Questions (FAQs) on Ceiling Fan Installation Costs
Considering a ceiling fan installation but still have some questions spinning in your mind? Here are answers to the most common queries homeowners have about costs, electricians, and everything in between.
1. Do I need an electrician for all ceiling fan installations?
For simple replacements where wiring is already in place, you may not need an electrician—just a sturdy ladder and a bit of patience. But if you’re adding a new fan to a room without existing wiring, or if your ceiling fan has advanced features (like lights or smart controls), an electrician is a wise investment. Safety and code compliance are worth the extra cost.
2. What's the cost difference between indoor and outdoor fans?
Indoor fans tend to be less expensive, typically ranging from $50 to $300. Outdoor fans, however, are built tough to handle moisture and other weather elements, which adds to their cost. Expect to pay $300 to $4,000 for outdoor fans, depending on their size and durability.
| Fan Type | Cost Range |
|---|---|
| Indoor | $50 - $300 |
| Outdoor | $300 - $4,000 |
3. How do high ceilings impact installation costs?
High ceilings require longer downrods, additional equipment, and sometimes even scaffolding, which all increase labor and material costs. For rooms with vaulted ceilings or heights over 9 feet, prepare for costs to rise by $50 to $150 on average.
4. Can I install a ceiling fan without existing wiring?
Yes, but it won’t be cheap! Installing a fan where no wiring exists typically requires a licensed electrician, who will need to add wiring, a switch, and possibly a support brace. This setup can cost anywhere from $500 to $2,000, depending on the complexity and your home’s layout.
5. Are remote-controlled fans more expensive to install?
Remote-controlled fans don’t add much to installation costs, but they often have a higher initial price than basic models. If you’re adding a remote receiver to an existing fan, it’s usually an easy job. However, for a WiFi-enabled smart fan, you may want a pro to make sure all connections are properly set up.
6. How much does it cost to replace an old ceiling fan?
Replacing an existing ceiling fan is straightforward and usually costs between $100 and $300. This covers basic labor if no new wiring is needed. It’s one of the most affordable ways to upgrade your space without a full electrical overhaul.
7. What’s the cost impact of adding lighting to my ceiling fan?
Fans with built-in lighting are typically $50 to $200 more than fan-only models. If you’re adding a light kit to an existing fan, expect installation to run an extra $50 to $100 depending on the complexity.
8. Can ceiling fans reduce my energy bill?
Absolutely! Ceiling fans use far less energy than an air conditioner. By creating a breeze, they allow you to feel cooler without cranking the AC, which can reduce energy costs. In the winter, reversing the fan direction pushes warm air down, reducing heating costs, too.
9. Is it cheaper to install multiple fans at once?
Yes! If you’re installing multiple fans, bundling the installations can lower labor costs. Electricians often reduce rates per fan when they’re installed on the same day, saving on travel time and setup costs. Perfect if you want a breeze in every room.
10. Are there any seasonal discounts for ceiling fan installation?
Absolutely! The best deals on ceiling fans and installation often pop up during cooler months when demand is lower. So, if you’re willing to plan ahead, you can grab great deals on both fan models and installation services during the off-season.
Conclusion: The Final Spin on Ceiling Fan Installation Costs
A ceiling fan might look like a simple addition, but installing one involves a few twists and turns—figuratively and literally. As we’ve explored, costs can range from budget-friendly to splurge-worthy, depending on factors like wiring, fan type, location, and installation method.
Key Takeaways for Budgeting Your Fan Installation
Start with Existing Wiring – If you’ve already got wiring in place, you’re in for a straightforward (and wallet-friendly) installation. Opting for pre-wired spots can save you hundreds in labor costs.
Factor in Fan Features – Built-in lights, remote controls, and smart features may add to the price tag, but they’re often worth it for added convenience and style.
Consider DIY vs. Professional Help – Simple swaps might be DIY-friendly, but complex jobs involving new wiring or high ceilings are best left to the pros.
Keep an Eye on Energy Efficiency – Energy-efficient fans save on utility bills, so if you’re in it for the long haul, these fans are worth the extra upfront cost.
Plan for Off-Season Deals – If you can, schedule installation during cooler months. Contractors tend to offer discounts when demand dips, making it the perfect time to snag a good deal.
The Perfect Fan: Balancing Cost, Style, and Efficiency
When choosing your fan, go for the sweet spot between aesthetics, functionality, and budget. A stylish, energy-efficient model may cost a bit more initially, but the savings on your energy bills and the boost in comfort are well worth it. Remember, your fan isn’t just an appliance—it’s a year-round companion, keeping you cool in the summer, cozy in the winter, and stylish all year long.
So, whether you’re going for a simple swap or an outdoor oasis, let your budget and comfort be your guide. Spin on, breeze lovers, and enjoy the cool savings and stylish vibes a well-chosen ceiling fan can bring!
