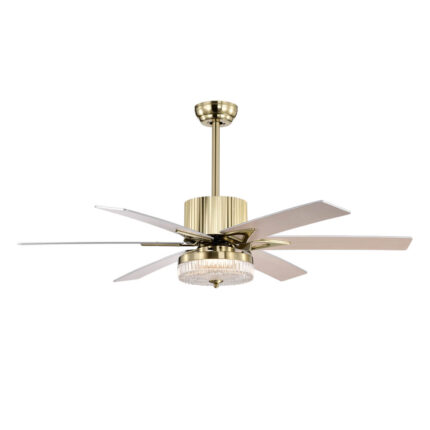
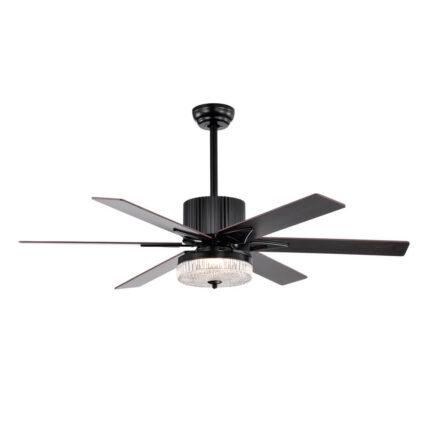
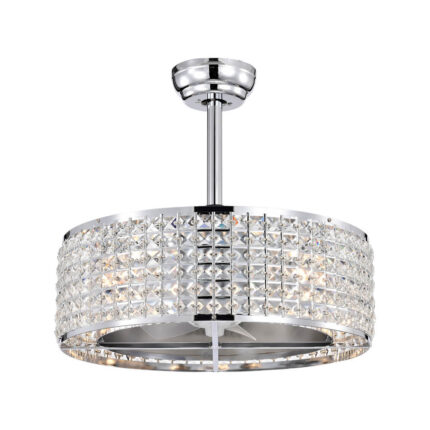
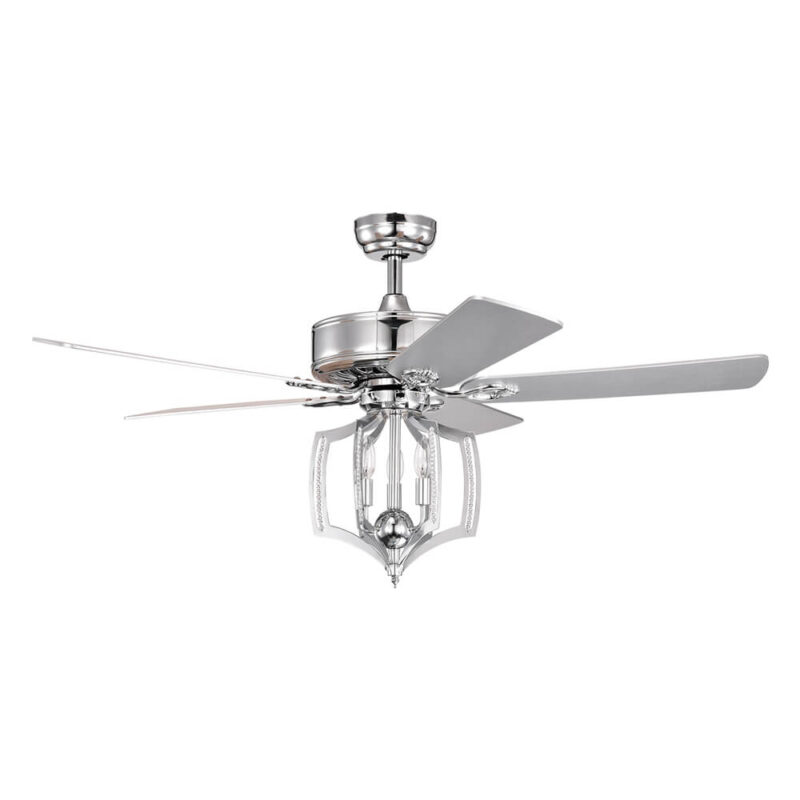
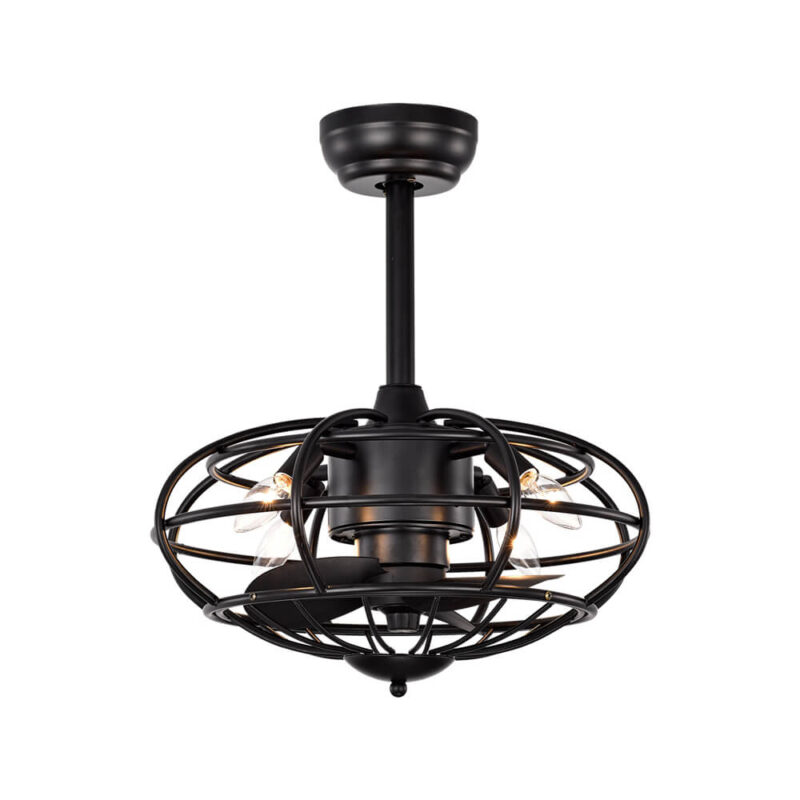
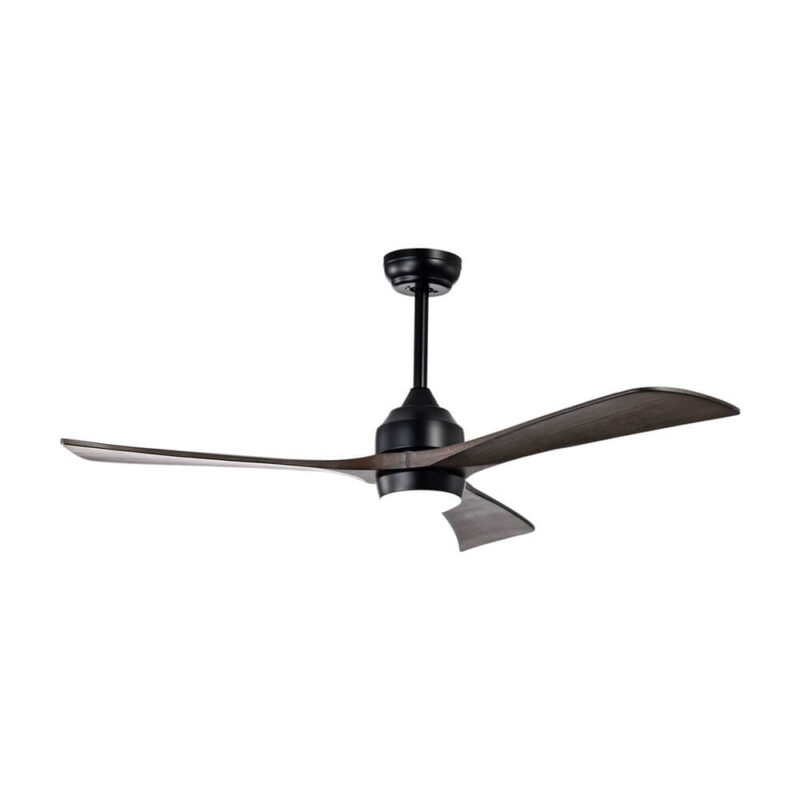
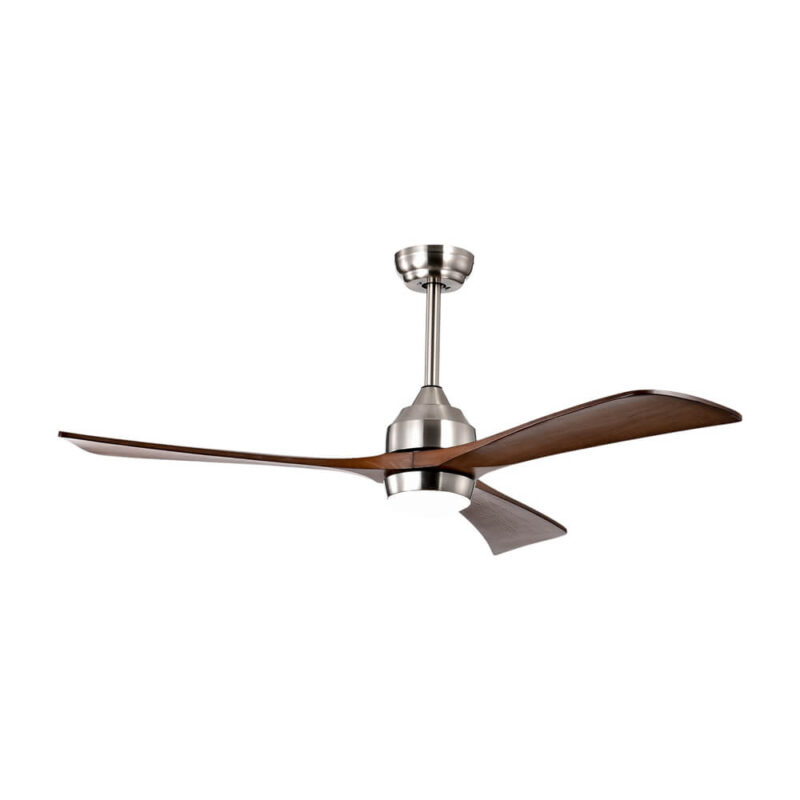
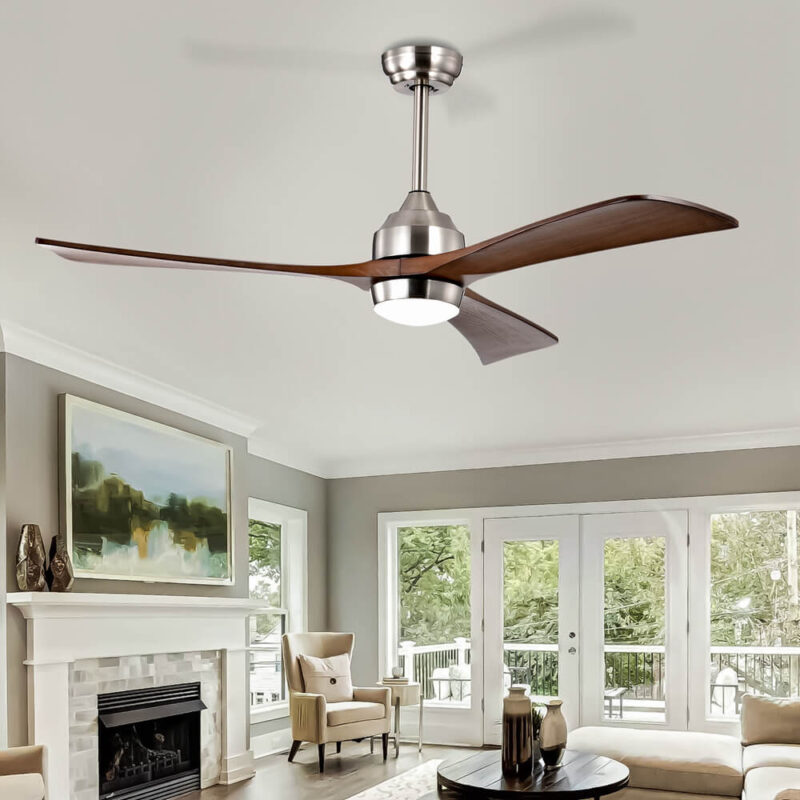
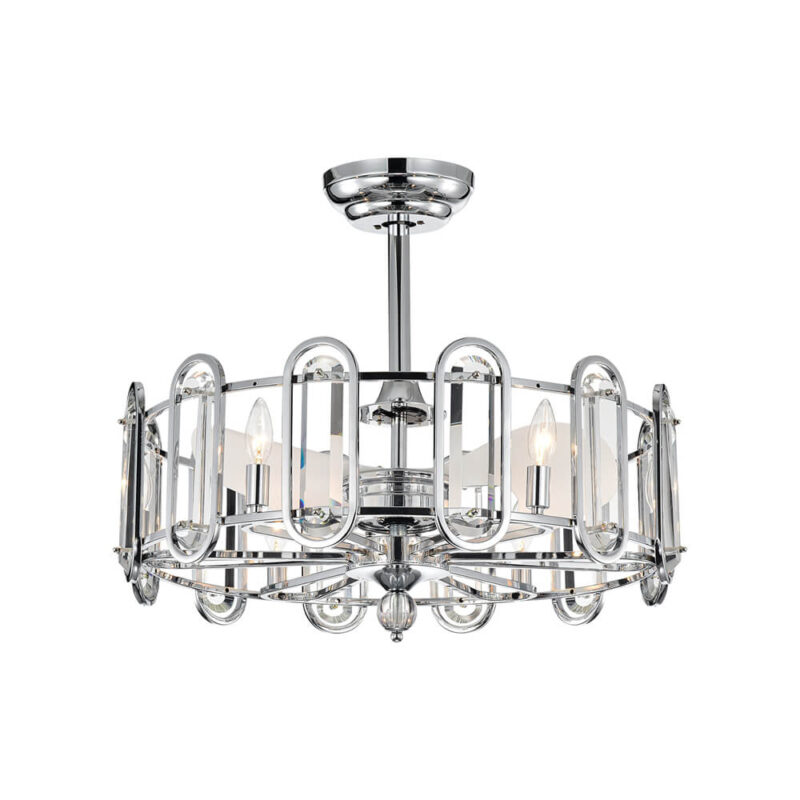
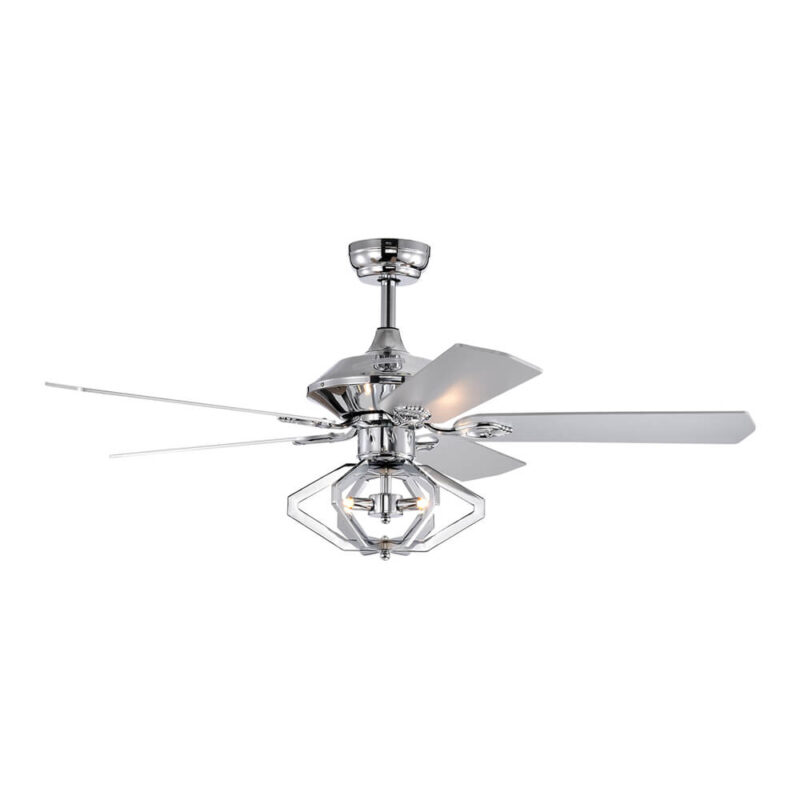
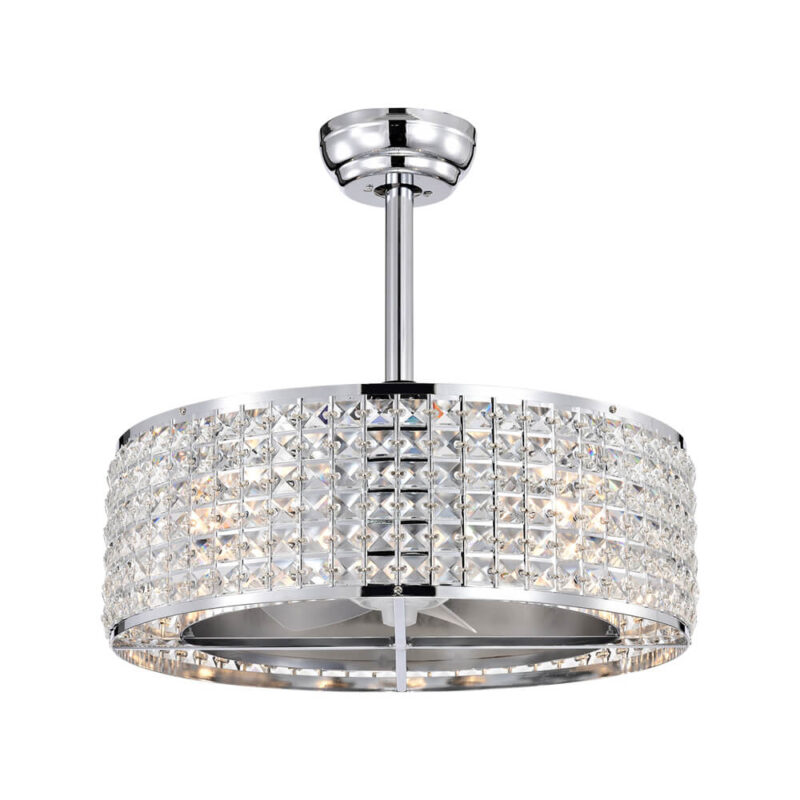
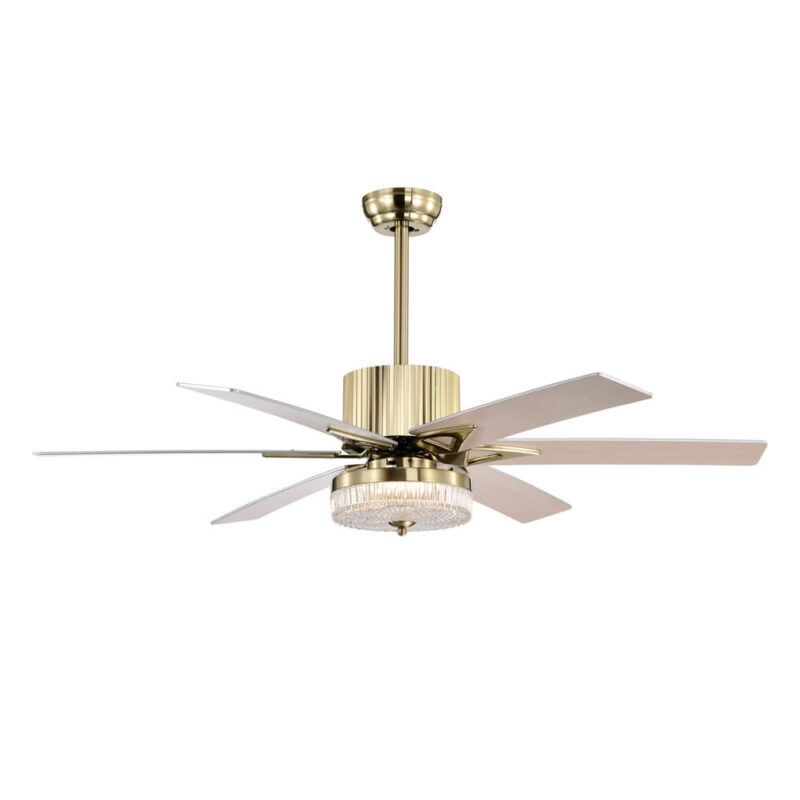
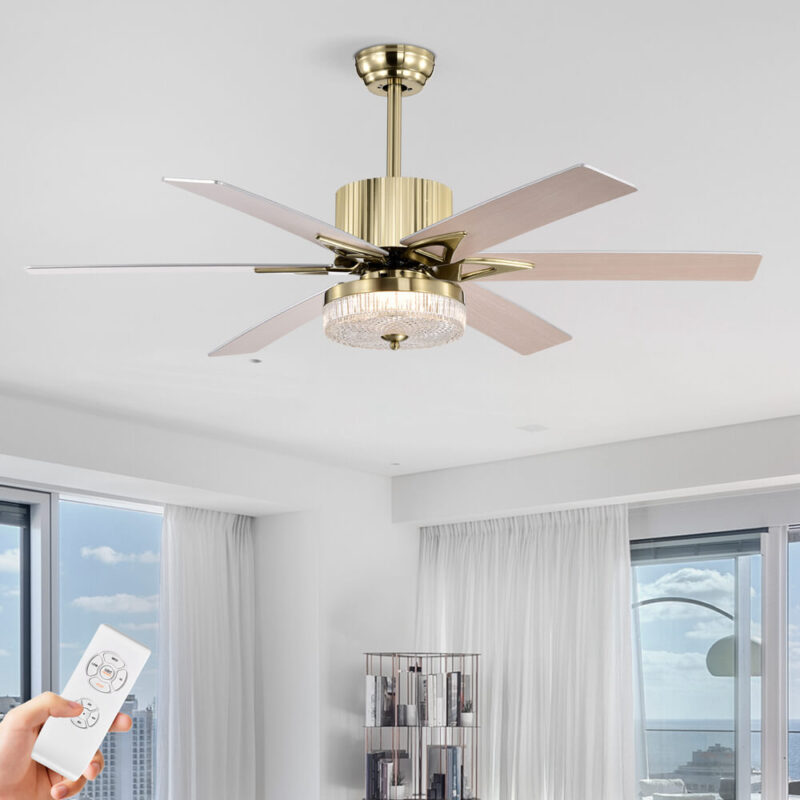
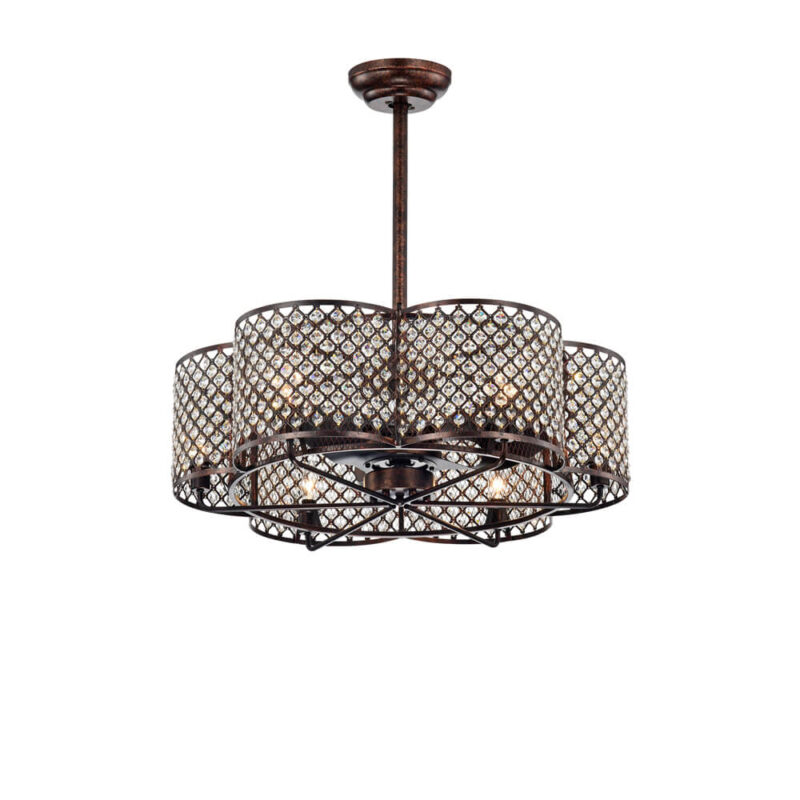
There comes a time in every ceiling fan’s life when it just has to go. Maybe it’s because it’s a style relic from the past. Or perhaps it’s started making that unsettling “wobble of doom” that hints it could detach any moment and take flight. Whatever the reason, whether you’re updating, replacing, or simply maintaining, removing an old ceiling fan is a task you can tackle safely and confidently with a bit of guidance.
Why Bid Farewell to Your Ceiling Fan?
Ceiling fans can be wonderful, sure. They cool you down in the summer, circulate cozy warmth in the winter, and add a nice hum to the room. But let's face it—like all things, they have their season. Perhaps you’ve got your eye on a shiny new model that matches your room’s vibe, or maybe you’re swapping the fan out for a chic chandelier that’ll add a touch of glamour to your space. And sometimes, it’s not about style at all. Maybe it’s just time for maintenance, or that poor fan simply gave up after years of tireless service.
Yes, You Can Do It Yourself!
While the task may seem daunting (it’s up there, spinning, looking all heavy and hard to reach), removing a ceiling fan is absolutely doable for a DIY enthusiast. With a ladder, some trusty tools, and the right steps, you can bring that fan down safely without involving an entire crew. You don’t need to be an electrician or a master builder; you just need a bit of patience, a good plan, and the willingness to conquer that ceiling fan once and for all.
Ready to get started? Let’s dive into the nitty-gritty, fan-blade-by-fan-blade!
Safety First: Essential Precautions for a Shock-Free Fan Removal
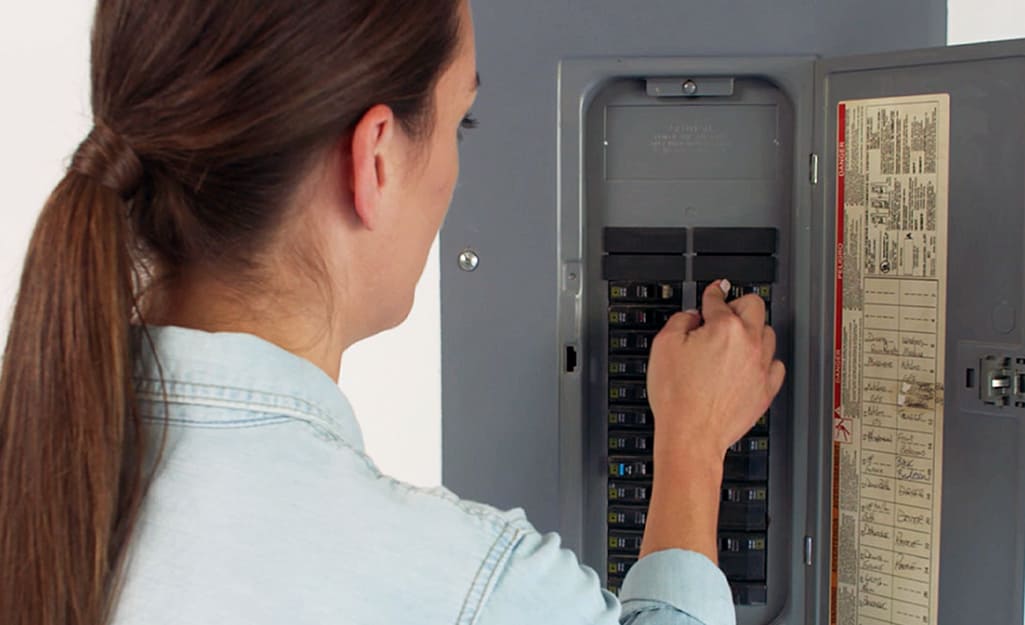
Step One: Cut the Power, Like Completely
Before touching anything that could zap you, cut off the power to the ceiling fan. That means flipping the switch and shutting down the circuit breaker for good measure. Think of it as giving your fan an enforced time-out. You don’t want any surprises up there, so let’s make sure it has no juice before you start unscrewing bolts and twisting wires.
Step Two: Trust, but Verify (With a Voltage Tester)
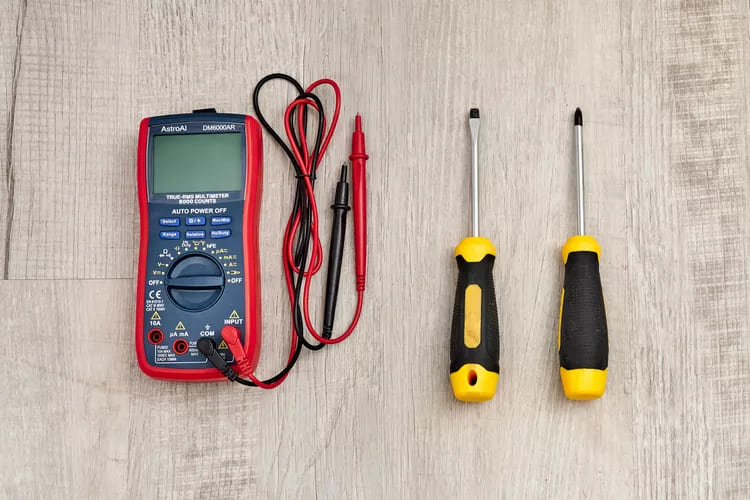
Just because the switch is off doesn’t mean your fan’s harmless. A voltage tester—preferably the non-contact variety—is your safety ally here. Check, double-check, and even triple-check for any sneaky electricity still lurking in those wires. It takes only a few seconds and could save you from a shocking experience. Really, there’s no such thing as “too paranoid” when it comes to electrical safety.
Step Three: Ladder Logic – Climb with Confidence
You’re about to embark on an elevated adventure. So, find yourself a sturdy ladder that won’t wiggle or sway. Position it directly under the fan for optimal reach, and maybe even recruit a helper to stabilize it. No sense in channeling your inner circus acrobat here. If someone’s around, they can hand you tools, offer moral support, or call for backup if anything goes haywire.
Step Four: Shield Those Precious Eyes
Rusty screws, tiny particles, or even a rogue piece of fan blade could suddenly become your worst enemy. Pop on some safety goggles for peace of mind and eye protection. Trust, you don’t want a scratched cornea as a souvenir from this project. Goggles are inexpensive, and besides, they make you look like you mean business.
Step Five: Know When to Call in Reinforcements
Feeling hesitant about the whole wiring situation? Don’t sweat it—this isn’t the time for guesswork. If you’re at all unsure about tackling the fan’s electrical guts, call a certified electrician. They can handle the tricky bits without breaking a sweat, ensuring your project stays shock-free and smooth. Sometimes, calling in a pro is the smartest move of all.
Follow these steps, and you’re ready to take on that fan with confidence, clarity, and both feet planted firmly on a secure ladder.
Gather Your Gear: Essential Tools and Materials for Fan Freedom
Before tackling that ceiling fan, it’s best to assemble your fan-fighting arsenal. Trust, having everything on hand will make you feel like a DIY superhero. Let’s start with the essentials.
Tools You’ll Need to Tackle This Beast
| Tool | Purpose |
|---|---|
| Phillips Screwdriver | For all those twisty screws holding parts together. |
| Flathead Screwdriver | Because some screws just like to be different. |
| Wire Strippers/Cutters | Essential for safe wiring detachment. |
| Voltage Tester | To ensure wires are dead before you handle them. |
| Sturdy Ladder | For safely reaching your fan up in the heavens. |
| Adjustable Wrench or Pliers | For loosening bolts or stubborn fan parts. |
Bonus Materials to Keep Things Secure
| Material | Purpose |
|---|---|
| Wire Nuts and Electrical Tape | For capping wires so they don’t get any funny ideas post-removal. |
| Safety Rope | If your fan is extra hefty, rope can prevent a mid-air mishap. |
Preparation Tips: Plan, Gather, Conquer
Plan Ahead: Lay out each tool within reach so you don’t have to climb up and down the ladder every five minutes. It’s like setting up for an art project—except the canvas is your ceiling.
Organize Like a Pro: Place your tools in a small, accessible container, maybe even a tool belt if you’re feeling fancy. This way, each piece is right there when you need it, not hiding in the toolbox when you’re on the top rung.
Safety First, Always: Check your ladder’s stability, test your voltage tester, and secure that safety rope. Preparation isn’t just smart—it’s what separates a smooth DIY job from one that requires explaining to the neighbors.
With these tools, materials, and prep tips, you’re all set to launch a fearless fan-removal mission.
Know Thy Enemy: Identifying Your Ceiling Fan Type
Before you start unscrewing anything, let’s figure out what kind of fan you’re dealing with. Ceiling fans might look alike, but they fall into two main types, each with a unique personality and removal process. Here’s what you’re up against.
Flush-Mount Fans: Snug and Cozy
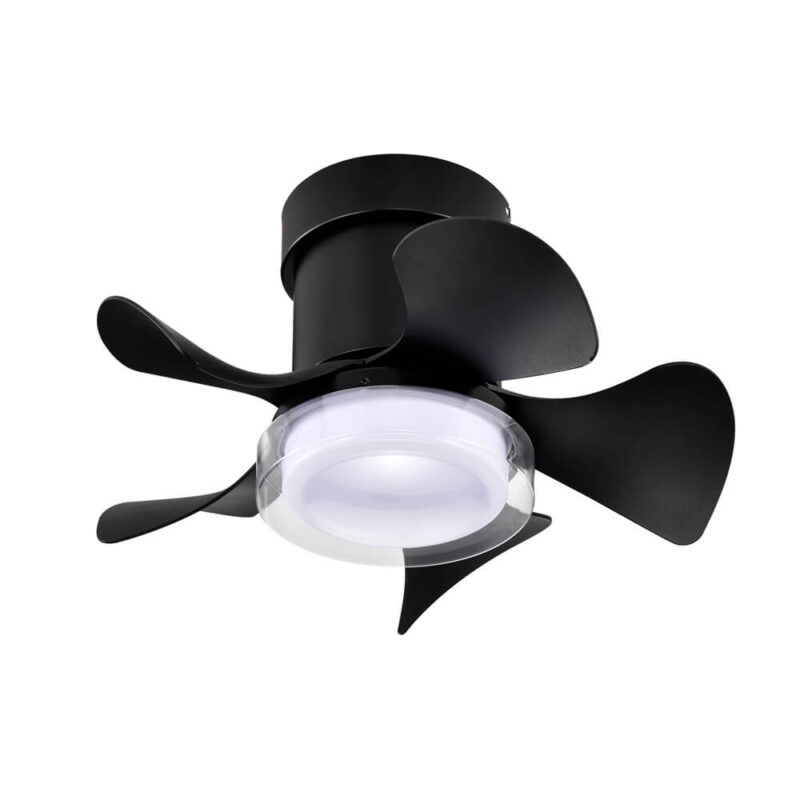
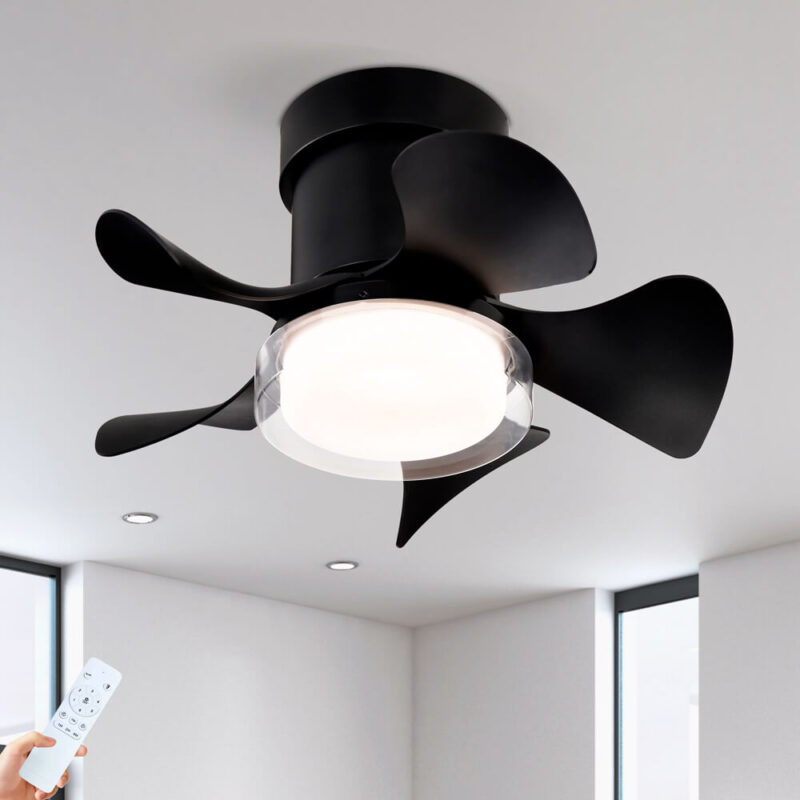
Flush-mount fans are like that friend who insists on sitting right next to you in an empty movie theater. They stay close to the ceiling, practically glued there, with no extra space for theatrics. These fans attach via a bracket directly to the ceiling, making them ideal for rooms with low ceilings or for people who don’t want a fan whacking them in the head every time they stand up too fast.
Flush-Mount Traits
- Mounting Style: Bracket-mounted, flush against the ceiling.
- Best For: Low ceilings, smaller spaces.
- Removal Complexity: Moderate (requires some disassembly to reach hidden screws and wiring).
Downrod Fans: The Dangling Daredevils
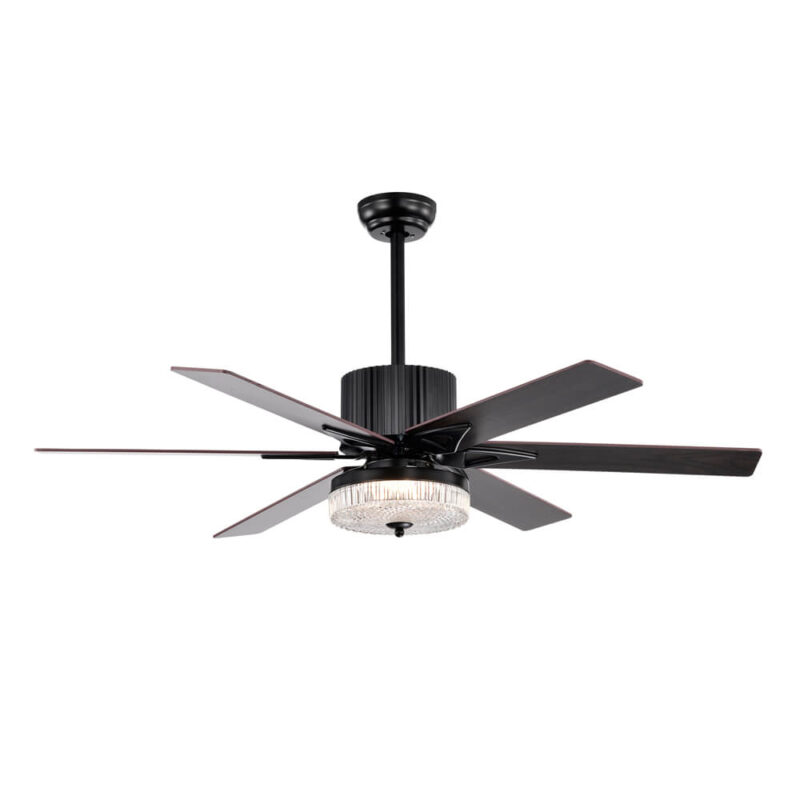
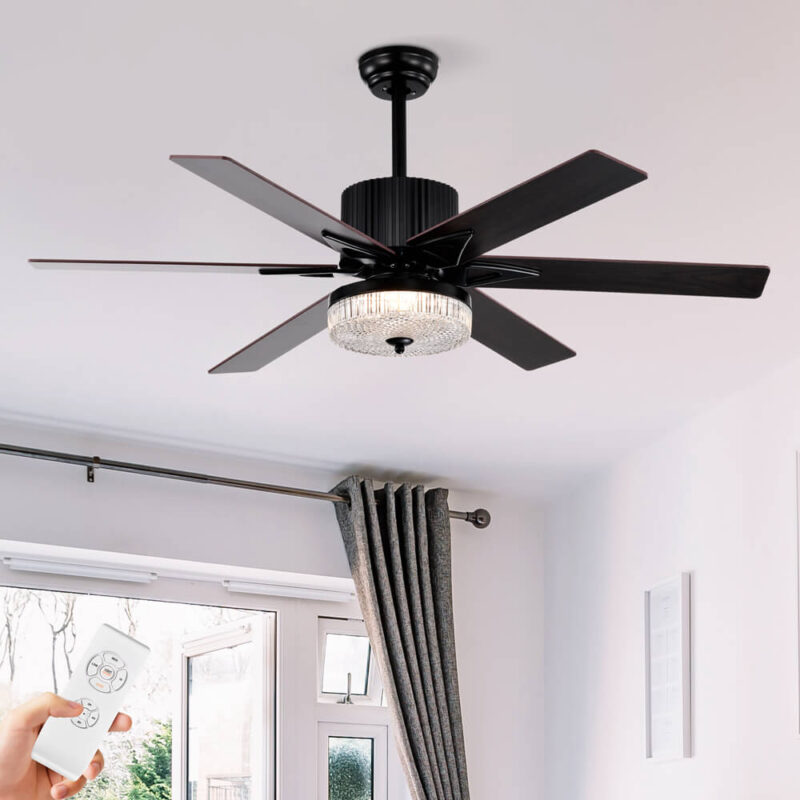
Downrod fans, on the other hand, like a little breathing room. They’re the social butterflies of the fan world, hanging out a bit lower with the help of a rod. This type of fan is ideal for rooms with high ceilings, where that bit of extra drop helps circulate air more effectively. You’ll recognize them by the rod (downrod) connecting them to the ceiling, like a little trapeze act just waiting to start.
Downrod Traits
- Mounting Style: Connected by a downrod, giving them a little space from the ceiling.
- Best For: High ceilings, larger rooms.
- Removal Complexity: Easy to moderate (usually involves loosening the downrod first).
Why Knowing Your Fan Type Matters
Identifying whether you’ve got a flush-mount or downrod fan is crucial because each requires a different approach. Flush-mount fans often need a bit more finesse since the wiring and mounting screws are tucked up closer to the ceiling, while downrod fans have parts that are a bit easier to access. Knowing your fan type simplifies the process, keeps surprises to a minimum, and makes the job quicker—and who doesn’t want that?
So, take a good look at your fan’s mounting style. Understanding whether it’s a flush-mount or downrod fan will make the whole experience much smoother, safer, and, let’s face it, much less frustrating.
Step-by-Step Guide to Removing a Ceiling Fan Like a Pro
Step 1: Kill the Power – and Double Check
Find your circuit breaker, and cut the power to the fan’s entire kingdom. Yes, this means not just flipping the wall switch. Once that power’s off, grab your trusty voltage tester and confirm there’s no lingering electricity. You’ll thank yourself for this precaution once you’re up on the ladder, face-to-face with the fan’s wiring.
Step 2: Say Goodbye to the Light Fixtures and Bulbs (if Applicable)
Fans often come with bonus lights, so before you dive in, remove them based on their type:
| Light Fixture Type | Removal Instructions |
|---|---|
| Multi-Arm Fixtures | Unscrew and remove the light bulbs and any glass shades. Then, gently unscrew and remove the fixture. |
| Bowl or Dome | Hold the glass bowl securely while unscrewing the finials. Remove bulbs, then take off the fixture. |
| Integrated Light Kit | Remove any glass coverings by unclipping or unscrewing them. You may need to disconnect wiring. |
Set each part aside carefully—you don’t want shattered glass or lost screws!
Step 3: Dismantle the Fan Blades
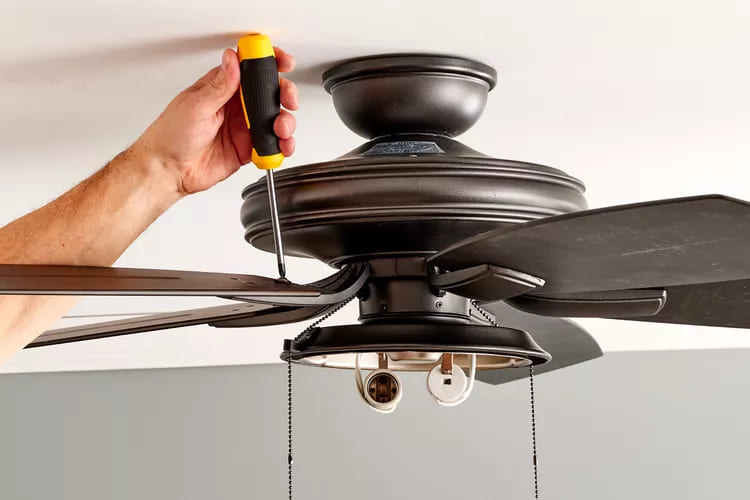
Now, take on the blades. Each fan blade is usually screwed in place, and you’ll want to remove these carefully. Some fans connect blades directly to the motor housing, while others attach them using blade irons (metal brackets). Unscrew each blade, set it aside, and if you’re feeling organized, pop those screws into a labeled bag for safekeeping. You’ll thank yourself later, especially if you’re planning to reuse or recycle this fan.
Step 4: Disconnect the Wiring and Remove the Canopy Cover
Now, we’re getting closer to the heart of the fan. The wiring awaits, so let’s go in according to your fan’s type.
Downrod Fans: Unscrew the canopy (the cover that hides the wiring and mounting), and you’ll reveal the main event: the wiring. Untwist the wire nuts to separate the fan’s wires from the ceiling wires. If there’s a remote receiver tucked in there, disconnect it as well. Cap those ceiling wires with wire nuts or electrical tape so they don’t get any bright ideas.
Flush-Mount Fans: Start by unscrewing the canopy to expose the wiring. Carefully disconnect the fan’s wires, then cap the ceiling wires for good measure.
Step 5: Detach the Fan Body – The Final Goodbye
With the blades and wiring out of the way, it’s time to bring down the fan body.
Downrod Fans: You’re going to lift the ball joint (found at the end of the downrod) out of the mounting bracket. Hold on to that fan firmly as you lower it, and don’t hesitate to get a helper if the fan’s got some heft.
Flush-Mount Fans: Support the fan body as you unscrew the final mounting screws. Many flush-mount fans even have a hinge that allows the fan to rest against it while you work, which is like a DIY gift from above.
Step 6: Free the Mounting Bracket
Finally, it’s time to remove the mounting bracket from the ceiling. Unscrew it from the electrical box, and if you’re planning to put up a new fan or light fixture in its place, keep the screws on hand—you never know when they’ll come in handy.
Now stand back, breathe a sigh of relief, and admire your work. You’ve just dethroned a ceiling fan, step-by-step, without a single shock or mishap.
Additional Tips and Best Practices for a Smooth Ceiling Fan Farewell
Got Rust? Conquer Those Stubborn Screws
Nothing says "fun project" like dealing with a screw that’s rusted itself into the ceiling for life. If you encounter one of these ironclad adversaries, don’t despair—reach for a bit of lubricant. A tiny dab of oil or a few drops of trusty WD-40 can work wonders, loosening up that stubborn screw without a fuss. Let it sit for a minute, then try unscrewing it again. For extra flair, give the screw a little motivational pep talk before you try again. It might just do the trick.
Storing or Donating Your Fan: Give It a Second Wind
If your fan’s still got some life left, why not give it a second chance? First, clean the blades, motor, and any parts that have gathered dust over the years—nobody wants a grime-coated gift. Then, consider donating it to a local charity or a home improvement reuse center like Habitat for Humanity. Many organizations welcome functioning ceiling fans, and who knows? Your fan might find itself spinning away happily in someone else’s living room. If a donation isn’t an option, check into local recycling centers, as many fan parts can be recycled.
Prepping the Ceiling for a New Fixture (or Leaving It Fan-Free)
Whether you’re planning to replace the fan with a snazzy new light fixture or just want a clear ceiling, take a few final steps to leave everything in tip-top shape. If a new fan or light is going up, make sure your ceiling electrical box is properly secured and ready for the new fixture. If you’re leaving it empty for now, consider covering the electrical box with a blank plate for safety. It’s a simple way to keep wires covered and avoid unwanted dust or critters sneaking in.
With these extra tips, you’re fully equipped to wrap up this project like a pro, making sure your ceiling fan lives on—or lives out—its best life.
Troubleshooting Common Ceiling Fan Removal Issues
Even the best-laid plans can go a little haywire. Here’s how to troubleshoot those pesky issues that sometimes pop up during fan removal. With a bit of patience and a few extra tips, you’ll be ready to handle whatever surprises your ceiling fan has in store.
Twisted, Tangled, or Brittle Wires? Proceed with Caution
Ah, the wires—the fan’s nervous system. Sometimes, they’re neatly organized; other times, they look like they were twisted into a macrame project. If you encounter wires that are brittle or stubbornly tangled, handle them with care. Avoid yanking or pulling, which could damage the ceiling wiring or break the fragile copper strands. Instead, untangle slowly, gently separating each wire. And if anything feels fragile or frayed beyond repair, it’s probably time to call in an electrician for safe removal.
Bracket Compatibility Woes? Always Trust the New Fan’s Bracket
When it’s time to install a shiny new fan, always—yes, always—use the mounting bracket that comes with it. Ceiling fan brackets aren’t one-size-fits-all; each model’s bracket is designed specifically to support that fan’s weight and structure. Even if the old bracket seems “close enough,” swap it out for the new one. Using an old bracket for a new fan might seem tempting, but it can lead to wobbling, or worse, an unexpected fan crash. And trust, no one wants that kind of excitement.
Safety Chains: Unlock with Care
If your fan has a safety chain—essentially a little extra insurance against a sudden drop—handle it carefully as you remove the fan. Safety chains are usually hooked onto a joist or similar ceiling structure to provide backup support. Unhook the chain once you’ve got a solid grip on the fan or have positioned a helper below to take its weight. This keeps things orderly and avoids any surprise swings or mishaps on the way down.
With these troubleshooting tips in your toolkit, you’re prepared for any curveballs your ceiling fan might throw your way. Proceed confidently, and soon, that fan will be but a fond memory of spinning days gone by.
FAQs: The Ceiling Fan Removal Guide You Didn’t Know You Needed
1. Do You Need an Electrician for This?
If wiring makes you break into a cold sweat, yes, an electrician is your friend. But if you’re comfortable following the steps and handling tools safely, this is a manageable DIY job for most people.
2. Can Ceiling Fan Parts Be Reused?
Absolutely! Blades, screws, and mounting brackets can be reused or repurposed if they’re in good condition. Just make sure you don’t mix and match brackets and fans—use the new bracket for any new fan installation.
3. What Are the Steps for Different Types of Ceiling Fans?
For a flush-mount fan, you’ll be unscrewing close to the ceiling. Downrod fans require handling a bit more hardware and may involve unhooking the downrod. Follow the specific steps for each type to keep it simple.
4. Is It Safe to Install a New Fixture After Removal?
Yes, as long as your ceiling box is secured and wired correctly. Just remember to use the new bracket and always turn off power before starting installation.
5. What Do I Do with Old Fan Blades?
You can recycle, donate, or get creative! Some people turn fan blades into quirky DIY projects like wall art or garden markers. Check with local recycling centers if you’re not feeling artsy.
6. Can You Change a Fan’s Blades Instead of Removing It?
Yes, if you just want a quick style update, swapping out the blades is often easy. Look for blades compatible with your fan model and follow the installation instructions.
7. How Often Should Ceiling Fans Be Replaced?
A good ceiling fan should last 10–15 years, but if it’s wobbling, making strange noises, or slowing down, it may be time for a new one. An annual clean and tune-up can extend its lifespan.
8. Are Safety Chains Really Necessary?
If your fan came with a safety chain, it’s a good idea to use it. It’s that extra bit of security in case something loosens over time, preventing any mid-spin mishaps.
9. What Tools Are Essential for Removing a Ceiling Fan?
At minimum, you’ll need screwdrivers, a ladder, a voltage tester, and perhaps wire cutters. For stubborn screws, WD-40 or a wrench can be handy. And don’t forget safety goggles for the brave-hearted!
10. Can I Replace My Fan with a Chandelier or Pendant Light?
Definitely! Just ensure the electrical box can support the weight and wiring requirements of the new fixture. A quick check with a professional can ensure the box is ready to hold up your new masterpiece.
This FAQ should help with the most common questions about ceiling fan removal—because sometimes it’s the little details that make the project go from “uh-oh” to “aha!”
Conclusion: Wrapping Up Your Ceiling Fan Adventure
Safety, Prep, and Patience—Your Three Best Friends
Removing a ceiling fan may sound daunting, but let’s recap: safety is non-negotiable, preparation is your co-pilot, and following each step in order is your golden ticket to a job well done. From cutting off the power (seriously, do this!) to taking down each piece with care, every step is a tiny triumph toward an open, fan-free ceiling. And let’s not forget—proper tools are everything. A voltage tester, ladder, and good ol’ screwdriver will make you feel like a DIY dynamo.
You’ve Got This!
Ceiling fan removal might seem like an ambitious undertaking, but trust that you’re more than capable. With the right steps, the right tools, and a sprinkle of determination, you’ll soon be standing under a cleared, blank ceiling, beaming with accomplishment. The best part? You did it all without the help of a professional. So, take a bow—you’ve earned it! Now, whether you’re installing a snazzy new fixture or simply basking in a fan-free room, enjoy the space you’ve reclaimed.
