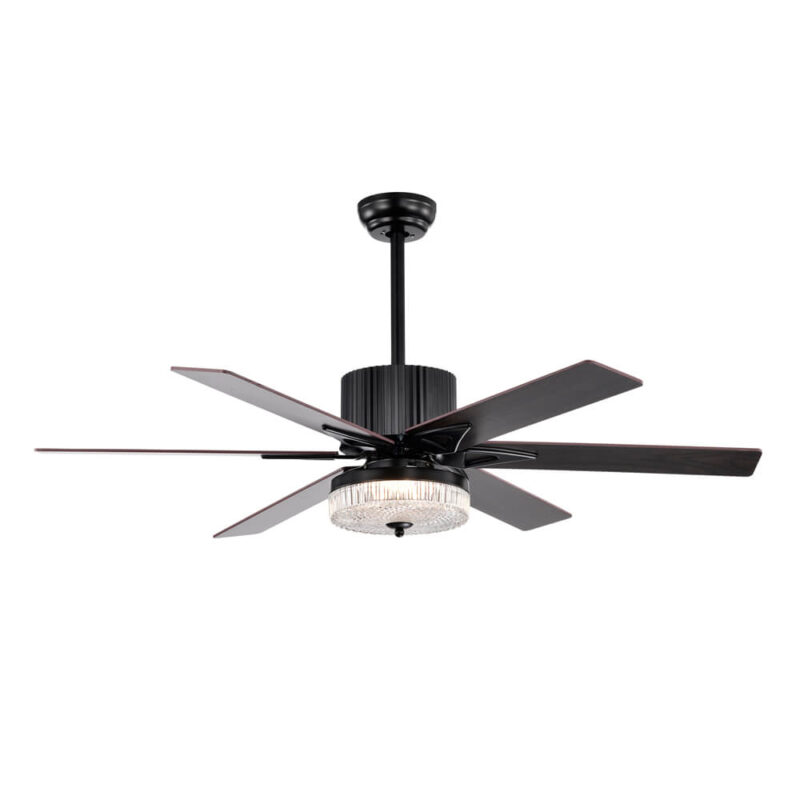
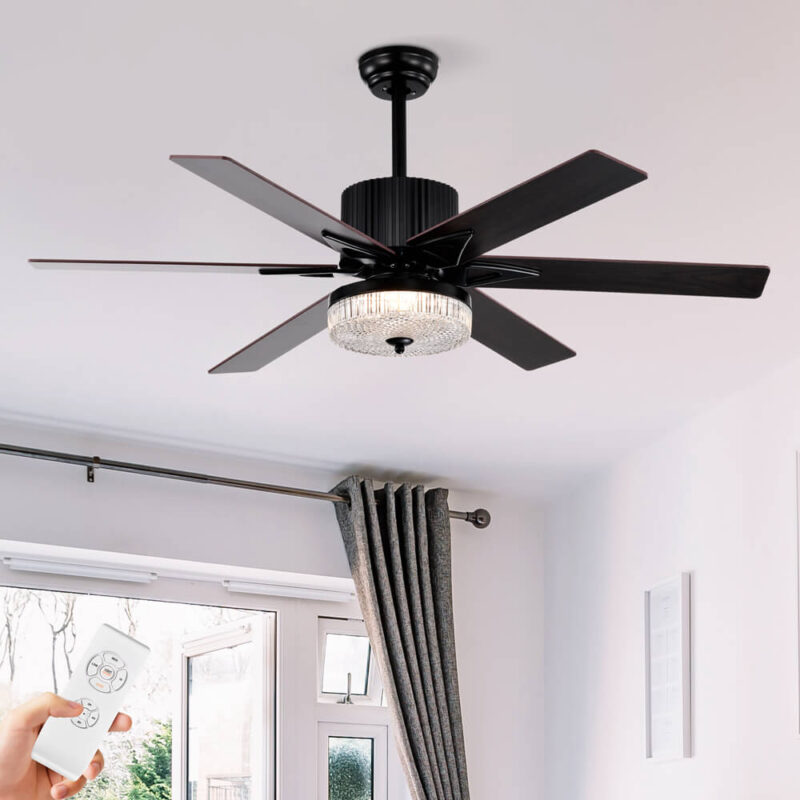
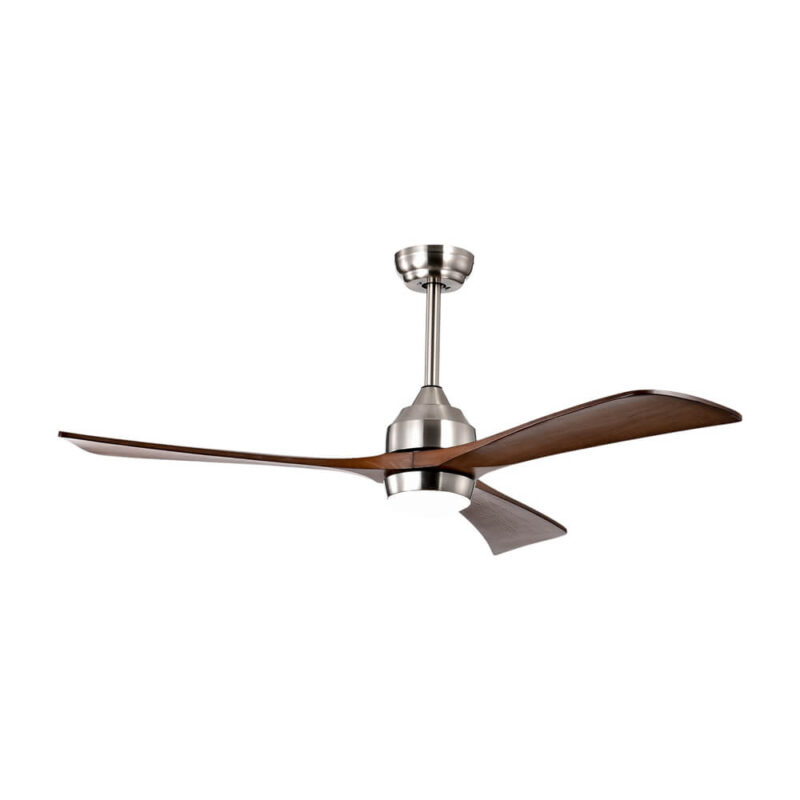
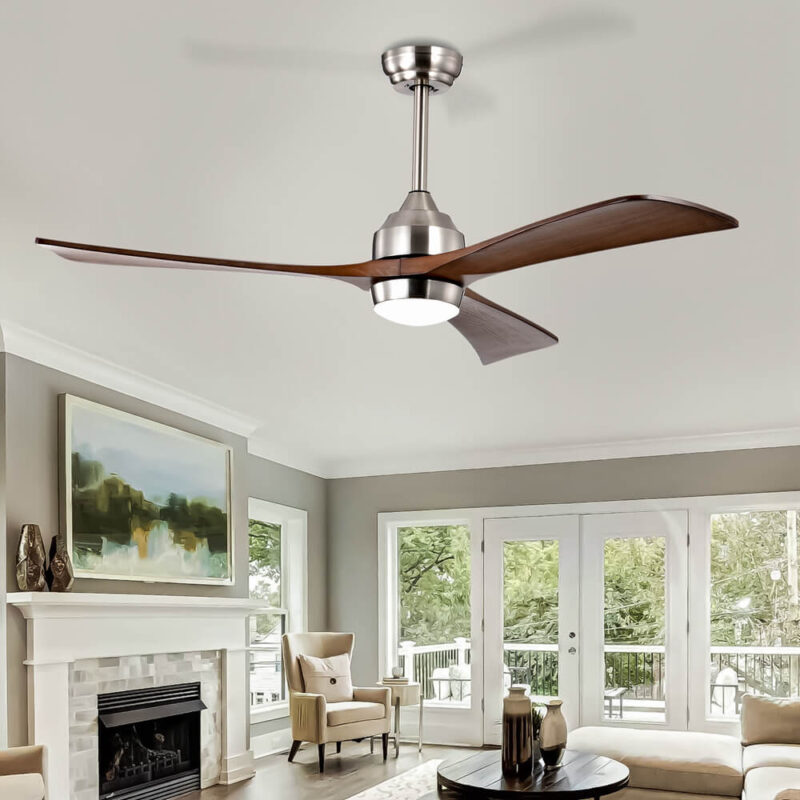
Ceiling fans are the unsung heroes of household comfort. They bring a steady, refreshing breeze, circulate cool air in the summer, and push warm air down in the winter. All the while, they’re working tirelessly to keep energy bills manageable. But when that peaceful hum turns into a loud click, an incessant buzz, or an unsettling rattle, it’s like inviting a grumbling guest into your home—a guest that refuses to leave.
Let’s face it: a noisy ceiling fan is more than just an inconvenience. It can keep you up at night, ruin movie marathons, and make even the most relaxed dinner feel like you’re sitting in a construction zone. From mysterious clicking to a hum that’s louder than your morning alarm, ceiling fans have a range of sound effects. But, spoiler alert, none of them are meant to be part of the package. Each sound points to a different problem, so identifying the type of noise is your first step toward a peaceful, fan-filled life.
Fixing these issues doesn’t just restore your serenity; it also saves your fan from long-term wear and tear. Ignoring these little disturbances can lead to bigger problems, potentially damaging parts or even shortening the lifespan of the fan. So, if your fan’s making sounds that are more horror movie than homey, it’s time to diagnose, address, and return your fan to its former quiet glory. With a little attention, you’ll ensure it stays a cost-saving, comfort-giving ally for years to come.
Understanding Common Types of Ceiling Fan Noise and Their Causes
Clicking or Knocking Sounds: The Annoying Beat That Won't Quit
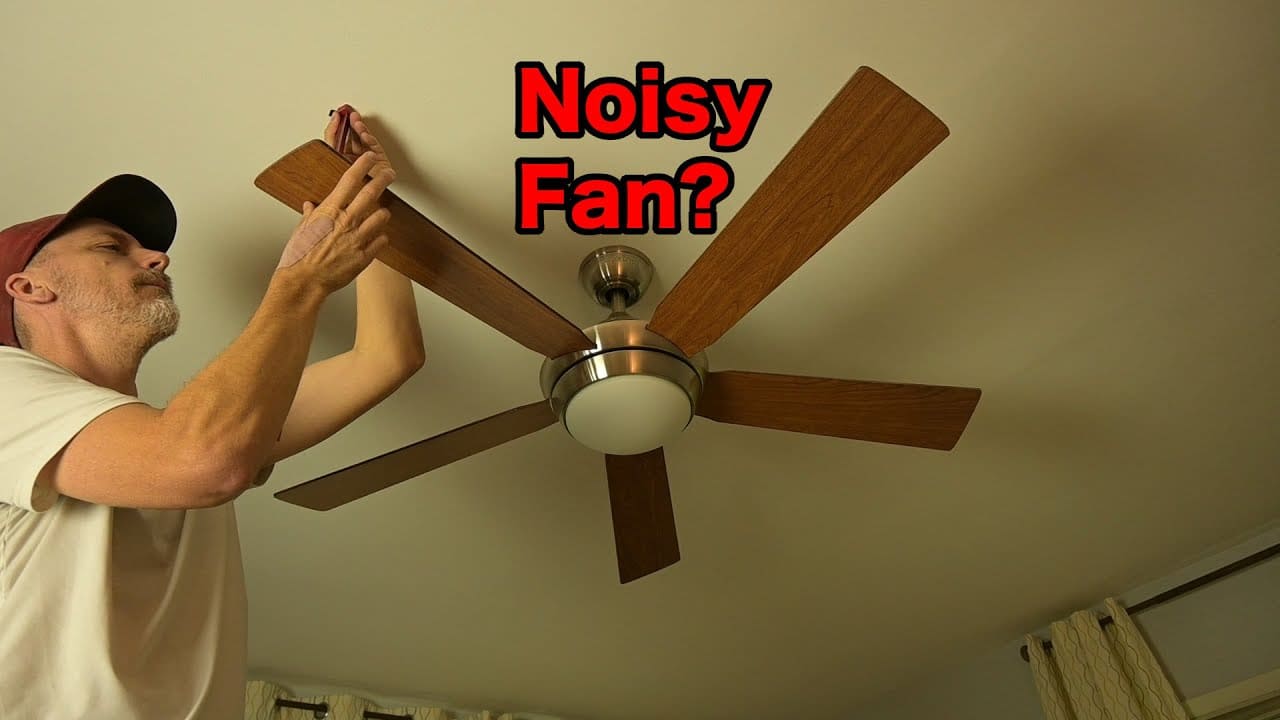
If your fan is producing a rhythm of clicks or knocks, it's likely begging for a bit of TLC. Clicking noises usually come from loose screws, unbalanced blades, or a light fixture that's decided to join in on the action. Think of it as your fan’s way of saying, "Hey, something’s a little loose up here!" This noise might sound rhythmic or completely sporadic, depending on how the fan moves—and how loose things are. Either way, it’s your cue to grab a screwdriver and give it a tune-up.
Humming or Buzzing: The Electric Drone of Discontent
A fan humming or buzzing away? It's usually signaling an electrical issue, a grumpy motor, or a dimmer switch that’s not quite up to the task. This hum can start as a soft, bearable noise, but crank up the speed or connect to a dimmer, and it could grow louder. The dimmer switch, in particular, can act like a megaphone for the hum, amplifying that low buzz. If this is the noise you're hearing, it’s time to investigate the electrical setup—or just wave goodbye to the dimmer.
Rubbing or Scratching: The Not-So-Soothing Sound of Friction
A scraping or rubbing noise is like nails on a chalkboard—and your fan might be experiencing a little too much friction. Often, this is caused by fan parts rubbing against each other, likely due to a misalignment or a canopy that’s gotten too cozy with the rest of the fan. Over time, this sound tends to get worse as parts shift further out of place, meaning that tiny rub could soon become a full-blown scratch. If your fan sounds like it’s roughing itself up, it’s time for an alignment check.
Sizzling or Crackling: The Sound You Shouldn’t Ignore
If your fan sounds like it’s frying something, that’s your signal to act fast. A sizzling or crackling noise is often a red flag for electrical issues, and these sounds can signal a serious problem. This isn't the type of noise you can ignore or fix with a little DIY—crackling could mean wiring trouble, which might even pose a fire hazard. If your fan’s making these alarming noises, shut it off and call a professional before things heat up in a way you really don’t want.
By understanding the distinct sounds your ceiling fan makes and what they indicate, you’re one step closer to restoring peace to your home. Whether it’s a click, hum, rub, or sizzle, every sound tells a story—and now, you’re ready to read between the lines and keep your fan running smoothly.
Diagnosing the Source of the Noise
Inspection Steps: Hunting Down the Racket
First things first—get up close and personal with your fan. Stand back, let it whirl, and listen carefully. Try to pinpoint where that racket is coming from: is it the blades, the motor, or maybe the canopy that’s causing the fuss? Let your ears be your guide, following every clink, hum, and scrape to its origin.
Once you've got a general idea, turn off the fan (and the power, please!) before diving in for a hands-on inspection. Carefully examine each part—the blades, motor assembly, canopy, downrod, and any light fixture. Check for wobbly screws, dusty buildup, loose fixtures, or any signs of misalignment. Get up close, even if that means stepping onto a sturdy ladder to look under the hood. Every component should be secure, steady, and aligned, not jiggling like it’s in a dance-off.
Safety Tips: Keep Your Fingers and Fan Intact
Now, a quick reality check: a ceiling fan may look harmless, but those spinning blades can do more damage than a toddler with a drum set. Always—and I mean always—turn off the power source before you start poking around. It’s not just about flipping the wall switch; shut off the breaker to make sure no rogue currents are running through your fan.
Once the power is off, double-check that the fan has stopped spinning before you begin your inspection. And if you're using a ladder, ensure it’s stable. We’re fixing a fan, not performing acrobatics. Safety first, always.
Diagnosing the source of a noisy ceiling fan isn’t about speed—it’s about precision. Taking these steps carefully will help you track down the culprit without putting yourself in harm’s way. And who knows? Your fan might just thank you by purring quietly once again.

Step-by-Step Fixes for Common Noisy Fan Issues
Tightening Loose Parts: Stop the Wiggle, Stop the Noise
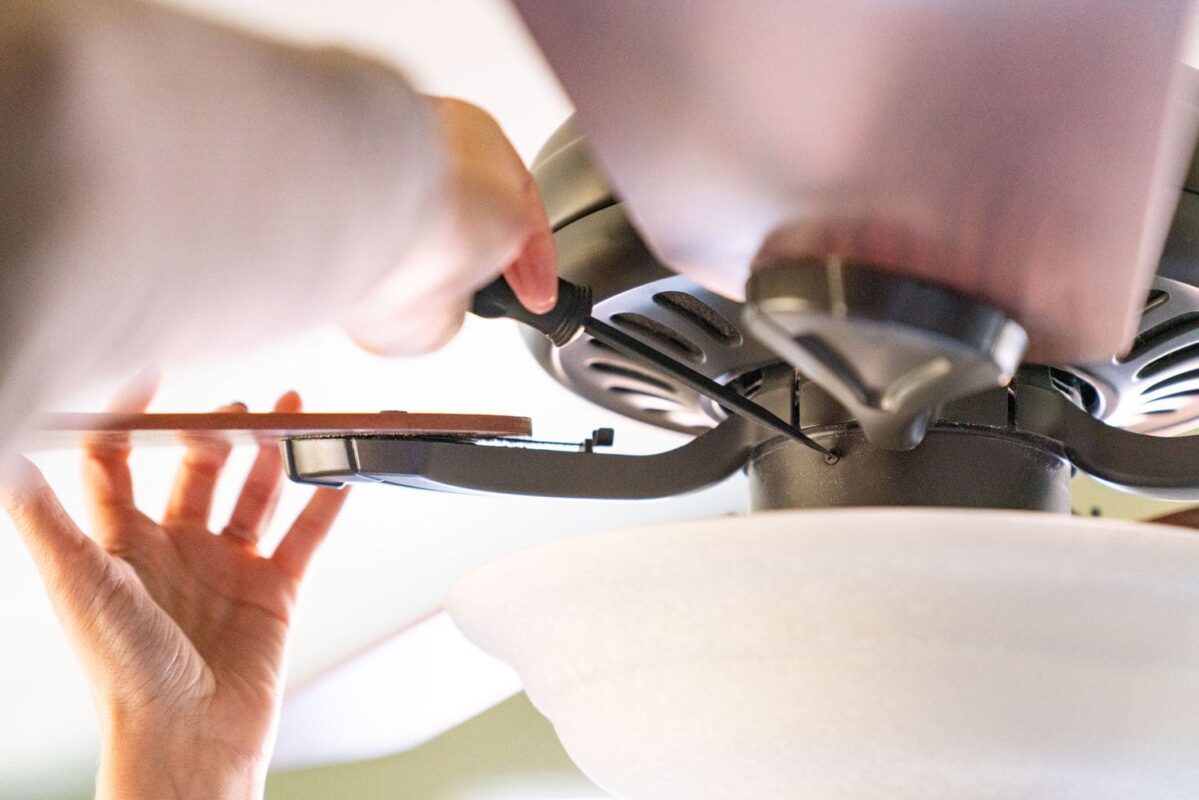
Let’s start with the obvious: a loose screw is a noisy screw. Grab your screwdriver and start by securing the blade screws and brackets. Check each blade carefully, making sure they’re tightly attached to the brackets. A wobbly blade isn’t just annoying—it’s a potential flying object waiting to happen.
Next, move on to the motor and downrod assembly. These parts do the heavy lifting, so they need to be solid as a rock. Give each screw a firm twist to keep everything in place, minimizing any chance of a wobble.
Don't forget the canopy and light fixture. Yes, even that fancy light fixture you added could be the culprit. Tighten every screw until it’s snug. And for those particularly stubborn screws, a dab of threadlocker (think Loctite® Blue 242) will keep them from coming loose over time. No more midnight clicks and rattles—just a fan that spins in silent harmony.
Balancing the Fan Blades: Goodbye to Wobbling Woes
If your fan has taken up a jitterbug dance routine, you’re dealing with imbalanced blades. First, test each blade by gently pressing on it—any blade that seems to be at odds with the others might be the source of the wobble.
Now, it’s time for a blade balancing kit. These kits come with clips and weights to help you find the sweet spot for balance. Attach a clip to each blade, one at a time, and run the fan to see if it’s steadier. Once you find the offender, add an adhesive weight to that blade to keep it level.
For a little extra fine-tuning, adjust the blade brackets. Sometimes, a blade just needs a little nudge to sit at the right height. A level blade means no more wobbles—and no more ominous fan dances.
Cleaning Fan Blades and Motor Housing: Dust-Free Is Noise-Free
Dust isn’t just unsightly—it’s unbalancing. Start by gently dusting off each blade to prevent dirt buildup from affecting the fan’s rotation. For a deeper clean, use a damp cloth to wipe down the blades and motor housing. And while you’re at it, give the canopy a quick wipe too.
Use a soft brush to get into any crevices in the motor housing, but avoid getting too aggressive. Once you’re done, make sure the blades are completely dry before turning on the fan. A clean fan is a quiet fan, so say goodbye to all that dust-induced wobble.
Lubricating Bearings: Smooth Moves Only
Not all ceiling fans need lubrication, so check if your model has an oil hole near the motor. If it does, it’s calling out for a little TLC. Grab some non-detergent motor oil (no WD-40 here, please), and apply a few drops into the oil hole.
Rotate the blades manually to help distribute the oil evenly throughout the bearings. But here’s the catch—don’t go overboard. Too much oil will attract dust, and you’ll be back to square one with an imbalanced, noisy fan. Just a few drops will keep those blades gliding like they’re on air.
With tightened screws, balanced blades, a fresh cleaning, and well-oiled bearings, your fan will go back to doing what it does best: keeping you cool and comfortable, minus the cacophony.
How to Change Ceiling Fan Direction: The Great Flip
Changing the direction of your ceiling fan is like unlocking a secret weapon for year-round comfort. Whether you're prepping for the summer breeze or winter warmth, knowing how to flip that spin is essential. And don’t worry—it’s easier than remembering all your streaming passwords.
1. Manual Switch for Pull-Chain Fans: The Old-School Method
If your fan is a classic pull-chain model, you’re going to have to get up close and personal with it. First, make sure the fan is turned off—trust me, nobody wants a finger-chop situation. Once it’s stopped spinning, locate the small switch on the fan motor. It’s usually labeled "forward" and "reverse" or "summer" and "winter." Flick it to the desired setting, depending on whether you're gearing up for a heatwave or a snowstorm. Turn the fan back on, and voilà! You’re officially the master of the breeze.
2. Remote Controls or Smart Fan Apps: Because Buttons Are Fun
Got a fan that’s a little more high-tech? Lucky you! If your fan comes with a remote control, all you need to do is hit the "reverse" button and watch the magic happen. No ladders or stretching required—just click and switch. For those of you rocking a smart fan, it gets even cooler (literally). Use your smartphone or smart home assistant (looking at you, Alexa and Google) to change the direction with a voice command or a quick tap in the app. You’ll feel like a fan whisperer as your blades obey your every whim.
3. Safety First: Turn Off the Fan Before You Flip
Before you start switching directions like a pro, here’s a friendly reminder: turn off the fan first. Seriously. You don’t want to be the one trying to flip a switch with blades whizzing by your head. Let it come to a full stop before making any adjustments. Once everything’s motionless, go ahead and make your move.
Now that your fan is spinning in the right direction, kick back and enjoy the perfect airflow—whether it's keeping you cool in the summer or wrapping you in warmth during the winter.
Advanced Fixes for Persistent Noises
Addressing Motor-Related Issues: When the Heart of Your Fan Needs TLC
If your fan hums louder than a bee in spring, especially as it gains speed, you might have a motor winding issue on your hands. Motor windings that are wearing out or misaligned can make a hum that grows more insistent the faster it spins. It’s like the fan’s own way of letting you know, “I need a little help here!”
Another common culprit? The capacitor. A weak capacitor won’t just slow down your fan’s startup; it may also bring along an unwelcome noise. If you notice your fan struggling to get going or producing a new hum at lower speeds, it’s probably time to check that capacitor.
And sometimes, despite your best efforts, the fan’s still not cooperating. That’s when you call in the cavalry—a licensed electrician or ceiling fan technician. They’ll know their way around the inner workings of a fan’s motor and can get it running as smooth as butter.
Correcting Poor Installation: Ensuring a Rock-Solid Setup
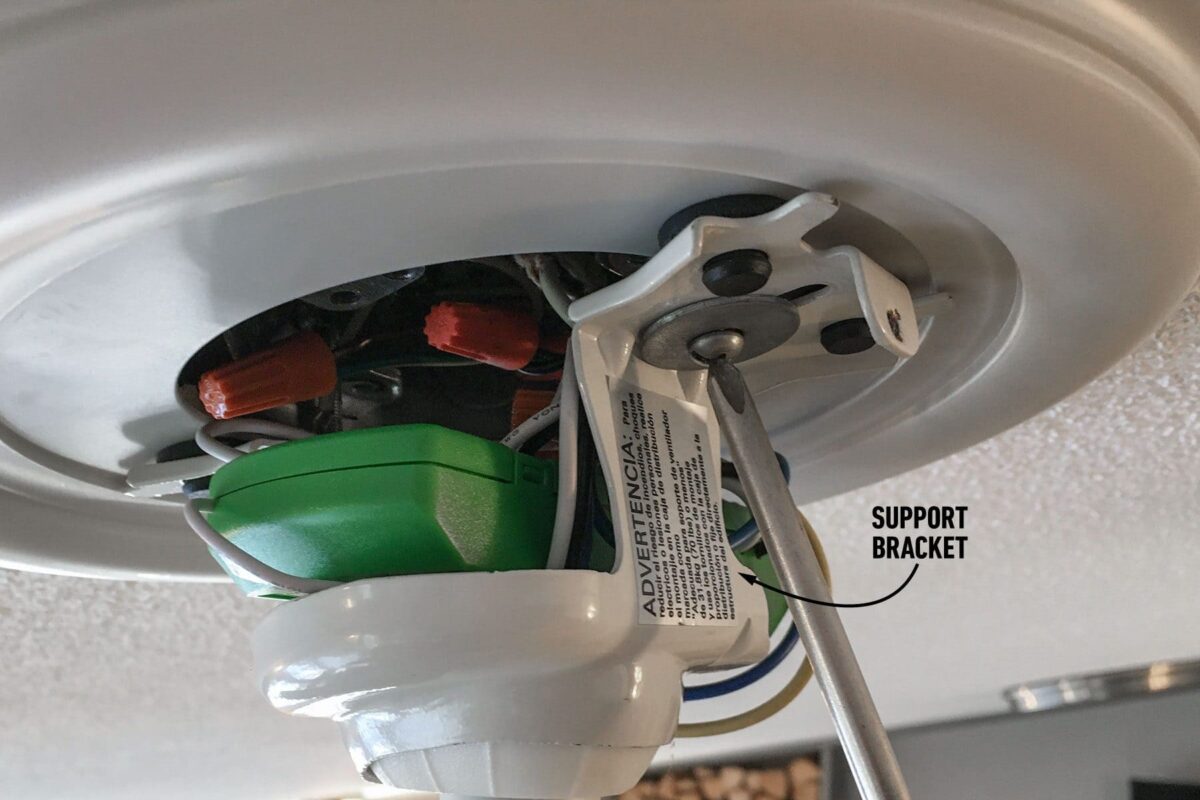
If your fan’s clanging and rattling like it’s in a band, the problem might go back to its installation. Start with the mounting bracket and electrical box. Ceiling fans are heavy, and they need a secure setup, preferably with an electrical box rated to handle all that spinning. Give those mounting screws a firm tightening to make sure nothing’s wobbling around up there.
Consider the ceiling itself, too. A flat ceiling setup isn’t the same as a vaulted or angled one, and each requires specific mounting hardware. A fan that’s not properly aligned to the ceiling can be the source of all kinds of noise.
Finally, take a look at any light fixtures and the canopy. Ensure everything is perfectly aligned and spaced to avoid rubbing, rattling, or clinking sounds. Light fixtures and canopies love to misbehave if they’re even slightly out of line.
Replacing Worn or Damaged Parts: Fresh Parts for a Fresh Start
Sometimes, a quick fix isn’t enough, and it’s time to part ways with old, worn-out components. Start with the blades—warped or damaged blades can throw the fan off balance, creating a racket. Replacing them with new, balanced blades can restore smooth airflow and eliminate unwanted vibrations.
Next up, the bearings. If lubrication hasn’t quieted that grinding or squeaking, it may mean your bearings have worn out their welcome. Fresh bearings will give your fan the smooth operation it once had.
And when all else fails, a motor or capacitor replacement might be in order. These parts are the backbone of your ceiling fan’s operation, and replacing them can give your fan a new lease on life—and restore the silence you’ve been craving.
These advanced fixes are your go-to strategies when the basics just don’t cut it. Whether it’s swapping out blades, fixing the motor, or ensuring a sturdy installation, each step brings you closer to a whisper-quiet fan that’s ready to get back to its main job: keeping you cool and comfortable.
Types of Ceiling Fan Noise Troubleshooting: Practical Solutions
Clicking Noise: The Beat You Didn't Ask For
If your ceiling fan has developed a catchy little click, it’s time to look under the hood. Clicking sounds often come from loose blade screws, blade arms that are out of sync, or a light fixture that’s doing its own thing. Start by checking the blade screws and tightening any that feel wobbly. Next, adjust those blade arms, ensuring they’re not the culprits. And if a light fixture is rattling along, secure it or consider replacing any damaged parts. With a few twists of a screwdriver, you can silence that click faster than hitting "skip" on a bad song.
Humming Noise: The Low Drone of Discontent
A ceiling fan that hums isn’t trying to lull you to sleep—it’s more likely asking for help. This sound could come from a few things: the motor, the dimmer switch, or a tired capacitor. First, if your fan’s connected to a dimmer switch, swap it out for a standard switch; dimmers don’t play nice with most ceiling fans. Then, check the wiring to make sure everything is tight and secure. Finally, give the capacitor a once-over. A faulty capacitor can cause your fan to hum like a bee in a bottle. Address these points, and you’ll soon be back to blissful silence.
Rubbing or Scraping Noise: When Parts Get Too Cozy
A rubbing or scraping sound is your fan’s way of saying something’s out of place. Begin by inspecting the canopy—sometimes it’s resting a little too closely on the motor housing. Adjust and secure it so it’s not rubbing against anything. Next, check the downrod to ensure it’s stable and isn’t leaning or wobbling. Finally, look at the blades; even a slight misalignment can cause scraping. Realign everything, tighten those screws, and your fan will go back to gliding smoothly without all that extra friction.
Crackling or Sizzling Noise: Time to Call in Reinforcements
If your fan is making a crackling or sizzling noise, this is your cue to cut the power—immediately. These sounds typically indicate an electrical issue, and messing around with this one is not advised. It could be faulty wiring, a loose connection, or something that’s about to go up in smoke. Turn off the fan at the breaker and reach out to a professional. This isn’t the kind of noise you want to troubleshoot solo; it’s a job for an expert, and your safety is worth every penny.
With these troubleshooting steps, you’ll be well-equipped to tackle any ceiling fan noise, from clicks and hums to scrapes and sizzles. Silence is just a few adjustments away, and soon your fan will return to its rightful role: cooling you down without making a scene.
Preventive Maintenance Tips to Keep Your Ceiling Fan Quiet
Tighten Components Regularly: Stop the Shake Before it Starts
A ceiling fan with loose screws is a fan ready to sing its own noisy tune. Once a month, give your fan a quick check-up. Tighten the screws on the blades, the motor, and any attached light fixtures. This simple step prevents wobbling, clicking, and other fan-made soundtracks from ever making an appearance. Think of it as giving your fan a monthly spa day—keeping it balanced, content, and quiet.
Clean Blades and Motor Housing: Dust-Free is Drama-Free
Dust may look harmless, but when it piles up on your fan blades, it creates an unbalanced, noisy spin. A quick, regular dusting will keep your fan running smoothly. Wipe down the blades with a soft cloth and give the motor housing a gentle once-over. Not only will a clean fan stay quiet, but you’ll also avoid those random dust showers when you turn it on high speed. Cleanliness isn’t just next to godliness; it’s next to noiselessness, too.
Lubricate Bearings Annually: A Little Oil for a Lot of Silence
If your fan has oil holes, it’s time to break out the lubricant once a year. A few drops of non-detergent motor oil are all you need to keep the bearings gliding smoothly. But easy does it—too much oil can attract dust, which brings us right back to square one. Rotate the blades manually after oiling to make sure it spreads evenly. Your fan will thank you by staying as quiet as a whisper.
Inspect for Wear and Tear: Catch the Little Issues Early
Like any appliance, a ceiling fan isn’t invincible. Every few months, check the blades, bearings, and motor for signs of wear and tear. Cracked blades, worn bearings, or a struggling motor are early signs that your fan needs a bit of attention. Replacing worn parts before they fail can prevent a lot of noise—and a lot of hassle. Plus, catching issues early means your fan won’t surprise you with a noise opera in the middle of the night.
Balance Blades Seasonally: A Small Shift for a Big Difference
Seasonal changes in temperature and humidity can subtly shift the balance of your fan blades. Every few months, use a blade balancing kit to keep them aligned. Clip weights to each blade and test until the wobble disappears. Balancing your blades keeps vibrations in check, ensures smooth airflow, and makes your fan as quiet as the cool breeze it was meant to be.
With these simple preventive steps, your ceiling fan will stay in peak form—working hard and running silently. A little maintenance goes a long way, ensuring you get maximum comfort without a side of unwanted sound effects.
When to Call a Professional
Electrical Issues: When Your Fan Sounds Like a Sci-Fi Film
If your fan starts crackling, sizzling, or humming in a way that makes you wonder if it’s developing a mind of its own, it’s time to call in an electrician. These sounds can point to electrical problems, and trust me—this isn’t the time for DIY fixes. Faulty wiring or electrical issues can turn your fan into a potential fire hazard, and unless you want to turn your living room into an unplanned light show, leave it to the pros. A quick check by a qualified electrician will put your mind at ease and your fan back on the safe, silent track.
Improper Installation: If It’s Shakin’, It’s Not Right
A wobbly fan isn’t just annoying—it’s a warning sign. If your ceiling fan is doing the cha-cha and doesn’t seem securely fastened, it might be a case of improper installation. A fan that’s not properly mounted to a fan-rated electrical box can cause all kinds of noise, not to mention the unnerving possibility of it coming loose. Instead of risking it, bring in a technician to make sure your fan is securely attached, balanced, and correctly aligned for smooth and silent operation. After all, a ceiling fan is best enjoyed spinning safely above, not dropping down unexpectedly.
Persistent or Complicated Noises: When Things Just Won’t Quiet Down
If you’ve tried every fix, checked every screw, and your fan still sounds like it’s gearing up for takeoff, you’re probably dealing with a more complex issue. Problems like motor or capacitor malfunctions require specialized skills and tools. These components are the heart and soul of your ceiling fan, and tinkering with them can make things worse. Save yourself the headache (and potential repair costs) by calling in an expert. A professional technician can pinpoint the problem, replace worn-out parts, and have your fan purring like new.
When in doubt, don’t tough it out—call in the pros. A ceiling fan may seem straightforward, but when electrical issues or complicated repairs rear their head, a little professional help goes a long way. Soon, you’ll be back to a blissfully silent breeze, knowing everything’s running as smoothly—and safely—as it should.
Conclusion
Ceiling fans are like loyal friends—they keep us cool, save us money, and ask for so little in return. But even the best of friends need a little attention now and then. A well-maintained fan doesn’t just hum along quietly; it operates efficiently, making your home more comfortable without all the fuss. And let’s face it—nobody wants a fan that sounds like it’s auditioning for a percussion band.
The good news? Most fan noises are easily fixable. A quick tightening here, a dab of lubricant there, maybe a balancing kit to smooth things out—and suddenly, you’re back to quiet, breezy bliss. Regularly cleaning off dust, checking for loose screws, and staying on top of small repairs can save you a world of headache (and earache).
So don’t wait until your fan starts clanking and groaning. A little proactive care will keep it spinning smoothly, leaving you with one less thing to worry about. Embrace these simple fixes, and your fan will reward you with years of whisper-quiet service, providing a cool oasis in your home without a single squeak.
